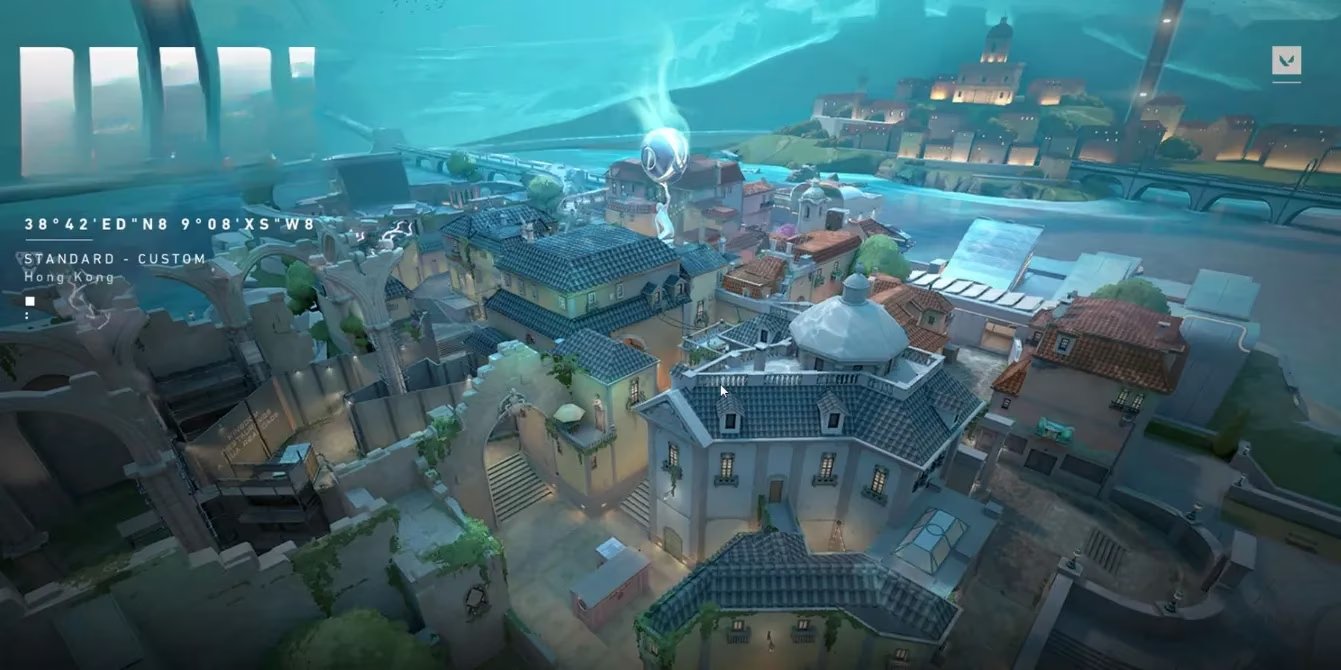
In the year 2026, the VALORANT Protocol's incursion into Omega Earth has yielded its most enduring and strategically profound battlefield: the underwater metropolis of Pearl. This sprawling Lisbon-inspired labyrinth, a monument to Omega Earth's architectural grandeur, remains a cornerstone of competitive play, demanding a cerebral approach to its deceptive openness and claustrophobic corners. To master Pearl is to engage in a high-stakes chess match played at a thousand rounds per minute, where every narrow alley and open plaza is a potential symphony of orchestrated chaos. The map, devoid of the gimmicky mechanics found in other arenas, is a pure, unadulterated test of tactical wit and spatial awareness, a blank canvas where legends are painted in gunfire and strategic genius.
The A-Site: The Deceptively Simple Gauntlet
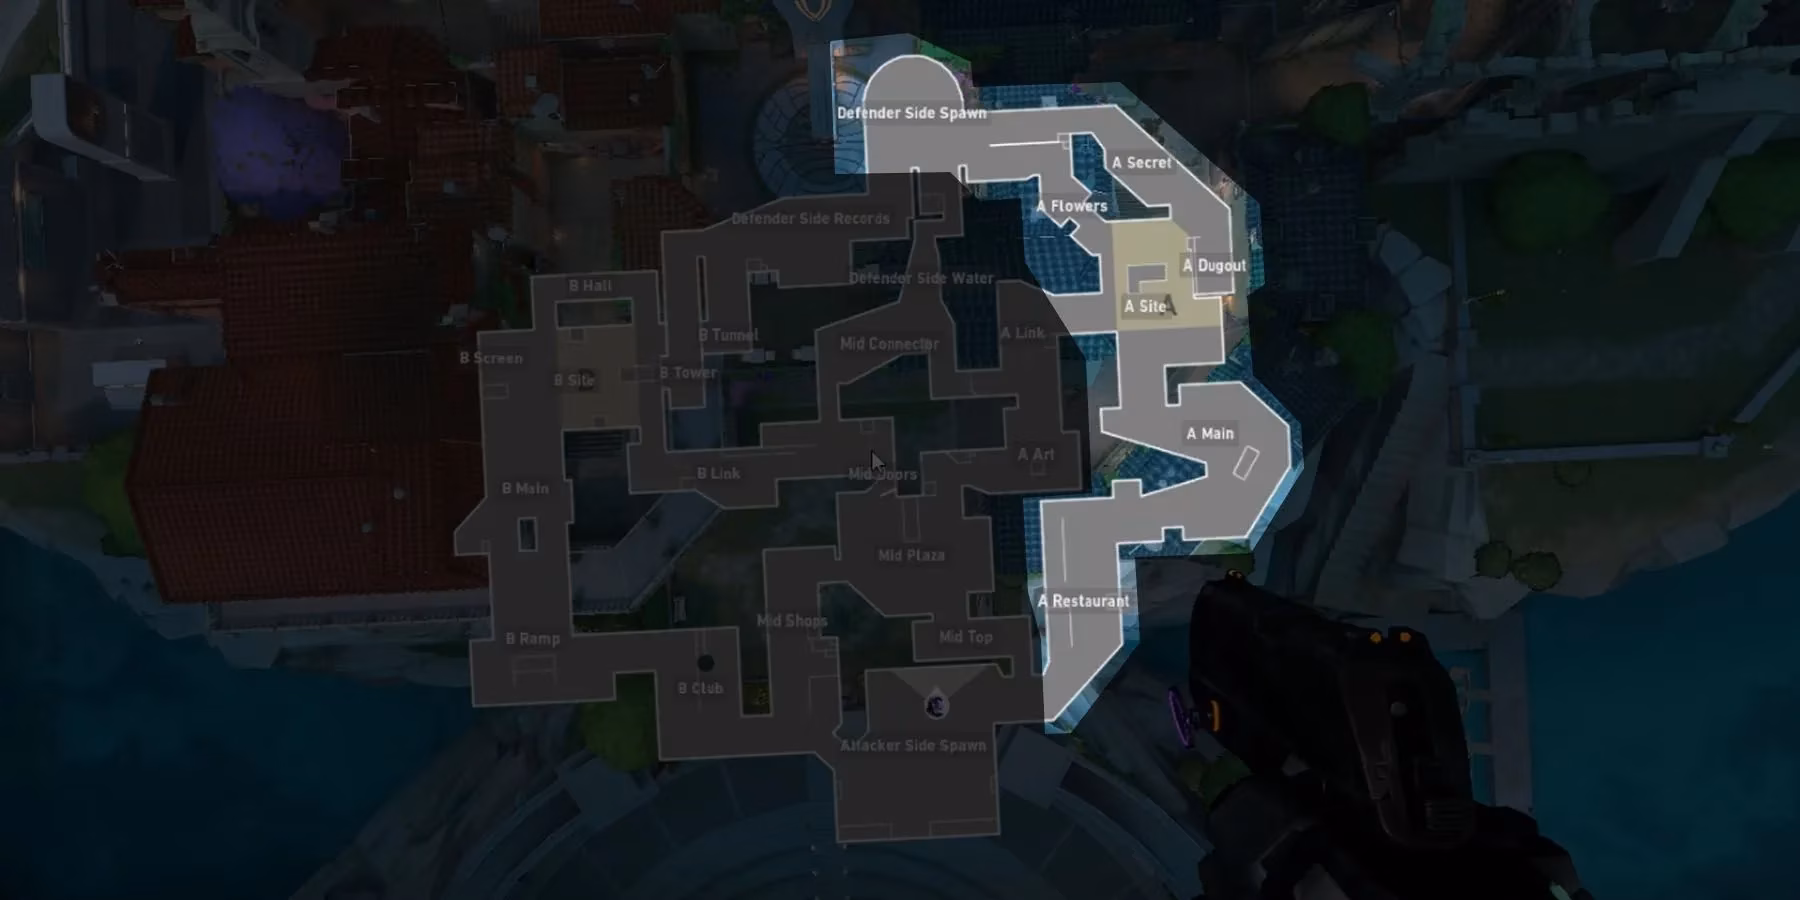
The A-Site on Pearl is a siren's call for the aggressive attacker, its straightforward layout a glittering trap waiting to be sprung. Approaching this zone is like walking into a beautifully decorated art gallery where every statue might suddenly draw a sidearm. The primary avenues of assault are as clear as the water pressure outside the city's dome: the bustling A-Restaurant and the lethal funnel of A-Main.
Key Offensive Considerations for A-Site:
-
A-Restaurant Cubby: Before committing to the A-Main meat grinder, savvy attackers use the small, decorative cubby in A-Restaurant as a staging ground. It's the perfect rat-spot, a spider waiting in its web for an unsuspecting roamer to pass by, securing an early pick and cracking open the site's defenses.
-
The A-Main Column: The central column in A-Main isn't just cover; it's a pivot point for duels as fluid as a matador's cape. Using it for quick peeks and rapid repositions can turn a static firefight into a lethal dance, allowing agile Duelists to outmaneuver entrenched defenders.
-
The Flanking Gambit (A-Art): Securing A-Art is the key to unlocking the site's flank. This tight corridor is the map's secret whisper, a direct line into the side of A-Main and a gateway to the Mid-Connector. A well-placed projectile from here, like a Raze Paint Shell, can scatter a defense like startled pigeons.
Key Defensive Considerations for A-Site:
-
A-Dugout Discipline: While A-Dugout is a tempting hidey-hole, lingering there is an invitation for a grenade bouquet. Smart defenders use it for a swift, shocking ambush as attackers cross into the site proper, rather than waiting for the post-plant chaos.
-
The A-Flowers Vantage: The windowed segment of A-Flowers is a sniper's paradise and an escape artist's best friend. It provides a clean sightline into the site for picks, while also serving as a rapid retreat route towards the Defender Spawn for crucial rotations to B.
-
Mid Awareness via A-Art: A defender posted in A-Art, armed with detection tools, can act as the team's early-warning system. Spotting movement in the Mid-Plaza from this position is like hearing the first note of an approaching ambush, giving the entire team precious seconds to prepare.
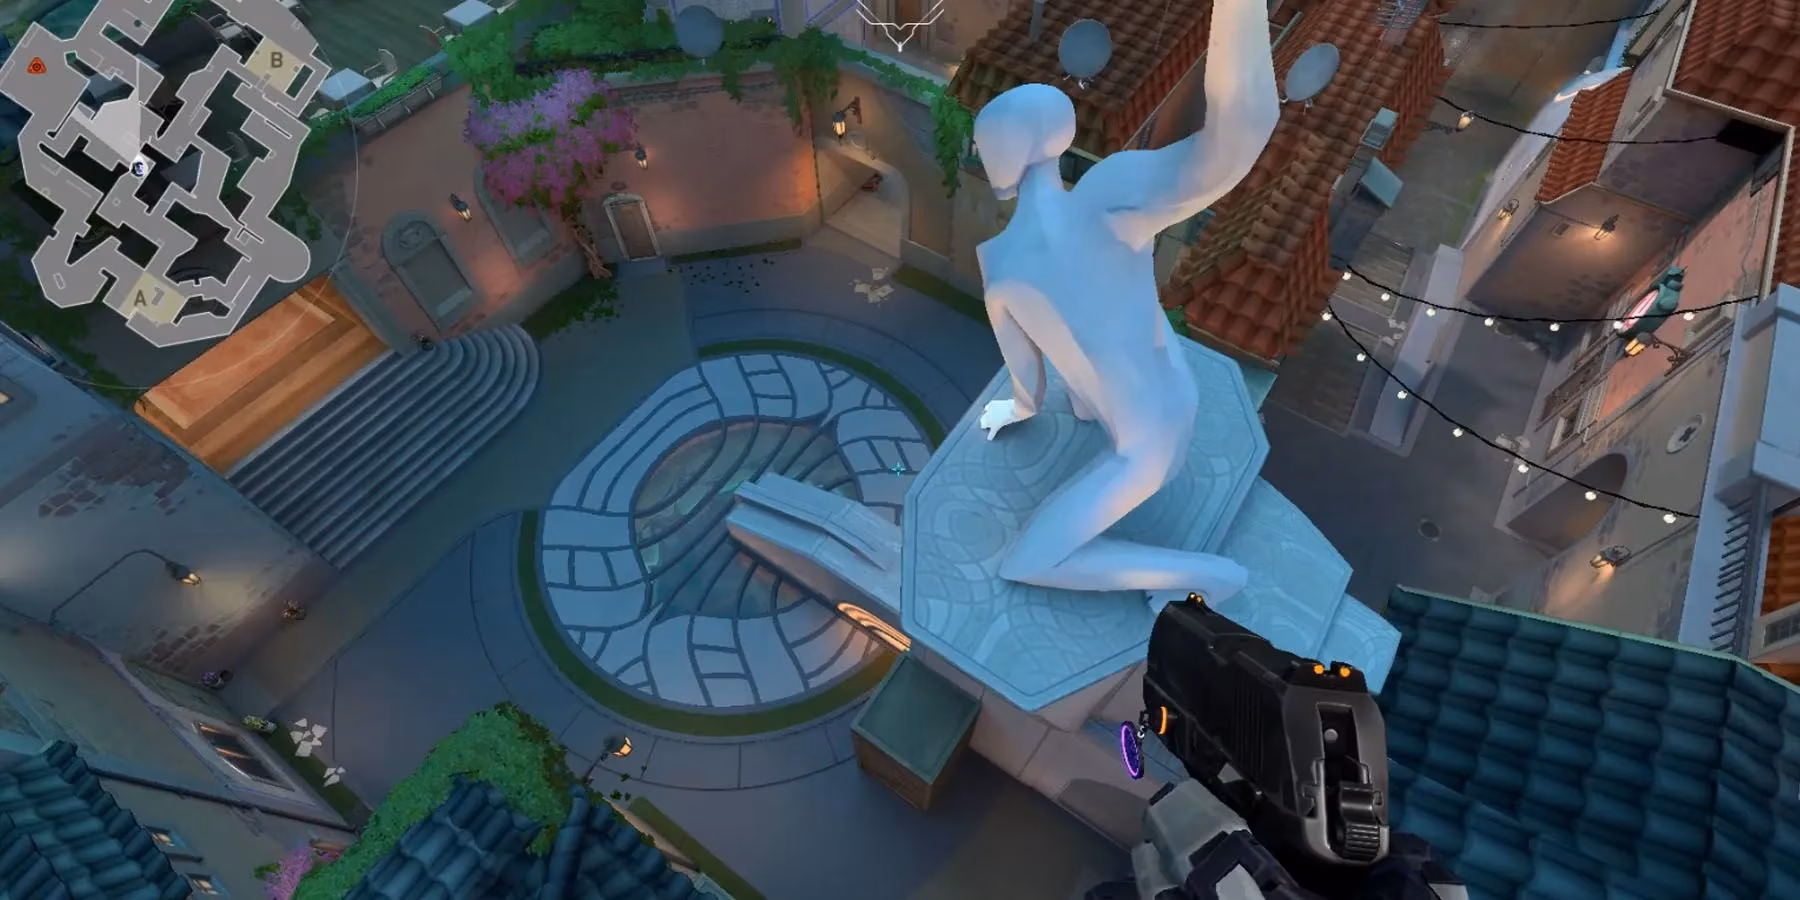
The Mid-Section: The Beating Heart of Pearl
Pearl's Mid is not a single corridor but a sprawling, bifurcated nervous system that dictates the flow of the entire round. Controlling this area is like holding the reins of a wild stallion; it grants unparalleled power to dictate the pace and direction of the engagement. The Mid-Plaza (attacker-side) and Mid-Connector (defender-side) are the twin fulcrums upon which matches are balanced.
Navigating the Mid Maze:
-
For Attackers (Mid-Plaza Focus): Securing Mid-Plaza is the ultimate power play. From Mid-Top, you command a view of A-Art and Mid-Doors. From Mid-Shops, you can cut off defender rotations through Mid-Doors. A successful hold here makes the map feel small, allowing your team to press an attack on either site with impunity or execute devastating flanks. The B-Link corridor, while narrow, is often a poorly defended backdoor to the B-Site, perfect for a silent, surgical strike.
-
For Defenders (Mid-Connector Control): The Mid-Connector is the defender's strategic crossroads. Holding this sloping street allows for lightning-fast rotations to reinforce either site via A-Link or B-Link. A sentinel or lurking duelist here can shut down flank attempts and provide critical information, making the defender's job of reading the attack as easy as reading a billboard.
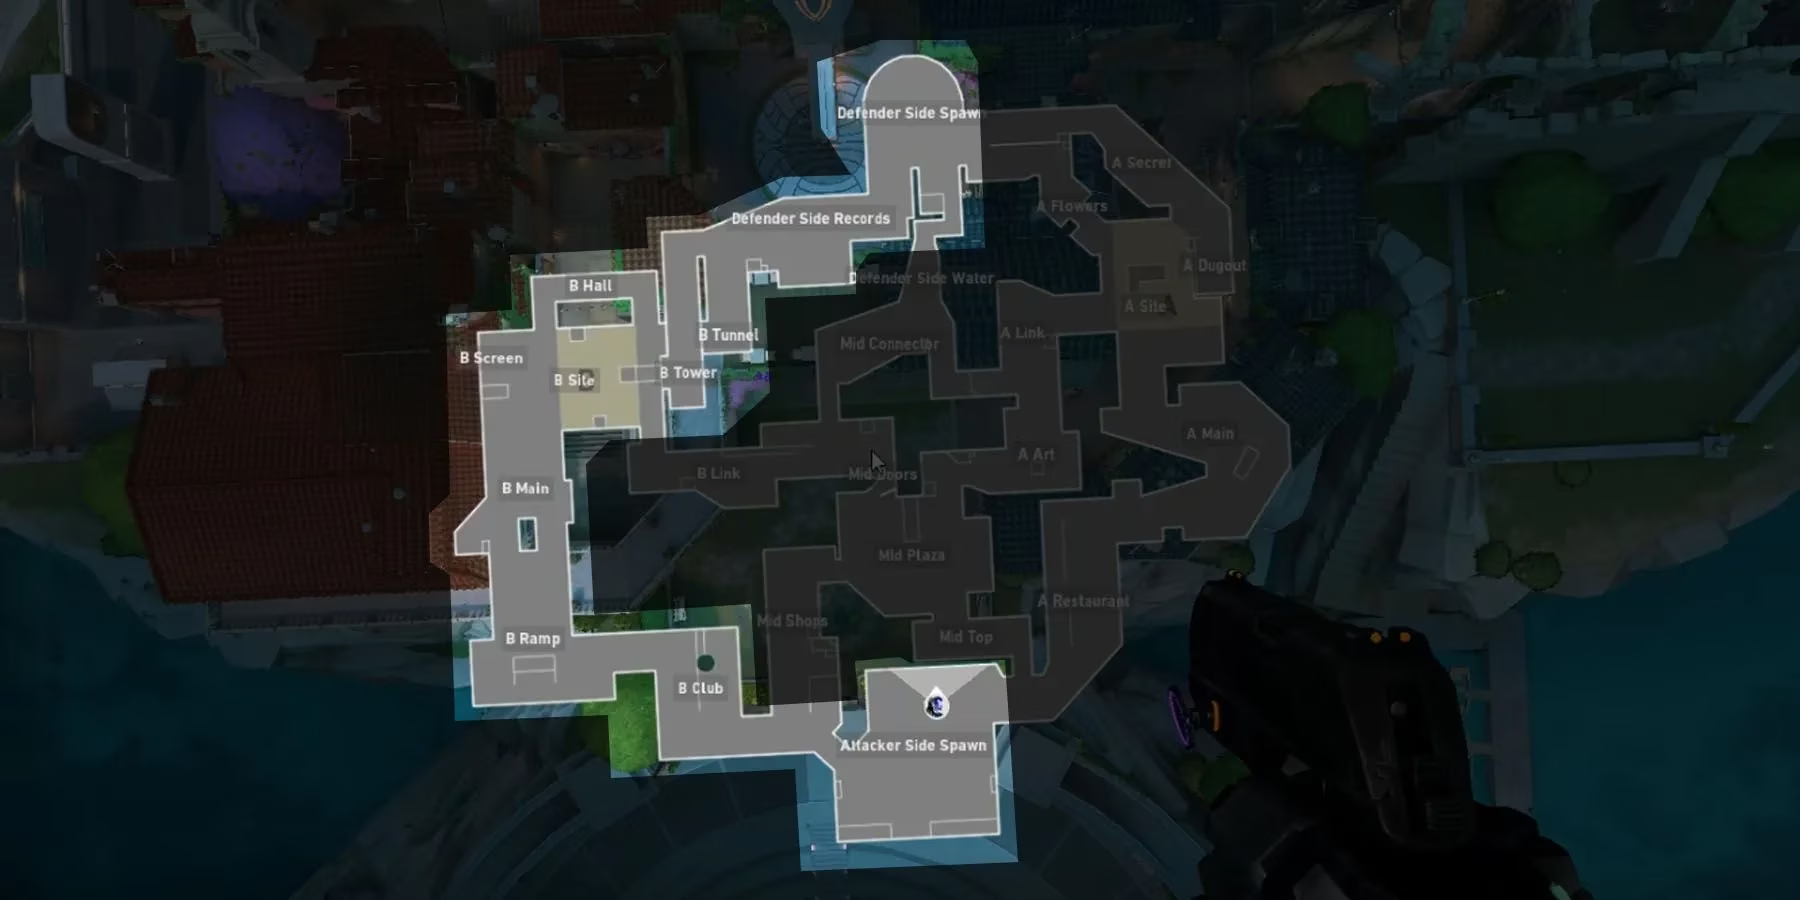
The B-Site: A Vertical Labyrinth of Pain
If A-Site is a gauntlet, B-Site is a multi-layered trap. It is a masterclass in verticality and tight angles, a place where combat feels as cramped and intense as a submarine brawl. The infamous B-Main corridor is a sniper's alley where Operators decide fates in milliseconds, while the overhead B-Tower and B-Tunnel add a terrifying third dimension to the fight.
Assaulting the B-Site Fortress:
-
B-Main Protocol: Expect a long-range duel. Using initiator tools to clear every cubby and rat-spot in B-Main is non-negotiable. Agents like Sova or Skye are worth their weight in gold here, revealing defenders who cling to the map's geometry like barnacles to a ship's hull.
-
The Diversion Play: A direct B-Main push is often a feint. The real threat frequently comes from a mid-to-B-Link flank. Savvy attackers use the obviousness of B-Main to sell a fake, drawing defenders' eyes before striking from an unexpected vector.
Defending the B-Site Stronghold:
-
B-Ramp Ambush: Defenders can reach the B-Ramp corner faster than attackers can safely clear B-Main. A close-range specialist waiting here can deliver a devastating surprise to a cautious advancing team.
-
Vertical Dominance (B-Tower): Controlling B-Tower is like having a throne overlooking your kingdom. From this elevated position, a defender can lockdown half of B-Main, rain utility down on the site, and provide unmatched information.
-
The B-Link Blindspot: The B-Link corner is a defensive gem. Positioned correctly, a defender here is invisible to both mid flankers and B-Site attackers until it's too late, allowing for a perfect, fight-swinging ambush.
The 2026 Pearl Meta: Essential Agent Picks
The philosophy for Pearl in the modern meta is simple: control space and information through angles, not just raw power. The map's design favors agents who can manipulate its many corners and corridors.
| Agent | Role | Why They Dominate Pearl |
|---|---|---|
| Sage | Sentinel | Her Barrier Orb can single-handedly reshape the battlefield, cutting off key lanes like B-Main or A-Main, forcing attackers into predictable and punishable paths. |
| Cypher | Sentinel | The map is a CCTV system designer's dream. Cypher's surveillance network can cover the vast distance between sites, making him the ultimate early-warning system. His trips and cages thrive in tight spaces like A-Link and B-Hall. |
| Neon | Duelist | Her high-velocity sprint makes navigating Pearl's long rotates and tight corners feel effortless. She can execute lightning-fast flanks through Mid or retreat from unfavorable duels faster than thought. |
| Fade | Initiator | Her haunting utility is perfect for clearing Pearl's innumerable hiding spots. A well-placed Prowler can sweep through A-Dugout or B-Link, and her Haunt reveal can dismantle a stacked site defense from safety. |
| Omen | Controller | His global range and versatile teleports (From the Shadows) allow for unprecedented map presence. A well-timed teleport to an off-angle in Mid-Shops or B-Tower can break a round wide open. |

Pearl is a testament to VALORANT's enduring strategic depth. It is a map where games are won not by who has the best aim, but by who can best command the space between the bombsites. To stand on the crumbling streets of this underwater city is to stand at the intersection of history and legacy. The defenders are not just guarding a spike site; they are guarding a monument. The attackers are not just planting a bomb; they are writing their name into the annals of Omega Earth. In 2026, Pearl remains not just a map, but a proving ground for the next generation of tactical virtuosos.