Yo, what's up everyone! It's your friendly neighborhood Killjoy main coming at you in 2026. Pearl, that beautiful underwater menace, has been in the pool for a few years now, but mastering its B site as Killjoy still feels like cracking a high-security vault. Everyone knows the pain of losing a round because some Jett dashes in and defuses right under your nose. Well, no more! Today, I’m breaking down the most reliable, galaxy-brain post-plant lineups for Pearl's B site that will make you the ultimate round-clutcher. Remember, throwing your Swarm Grenades from a safe distance is like being a ghost in the machine—you deal damage without ever being seen. It's always better than plopping them down on the Spike where they can get shot. Let's get into it!
🎮 How to Practice Your Lineups Like a Pro
First things first, you gotta practice. Setting up a custom game is your playground.
-
Go to 'Play' > 'Custom Game' and pick Pearl.
-
In 'Options', turn 'Allow Cheats' to 'On'.
-
Start the game, pick Killjoy, and once you're in, open settings again.
-
Here’s the magic:
-
Set a bind for free fly movement (so you can zoom around).
-
Enable infinite abilities, credits, and ammo. No shopping restrictions!
-
Pause the match timer after warm-up.
-
Scroll down and make yourself invulnerable. You're now an immortal lineup scientist!
-
Now you're ready to lab without any pressure. It's like having your own personal time-bending sandbox.
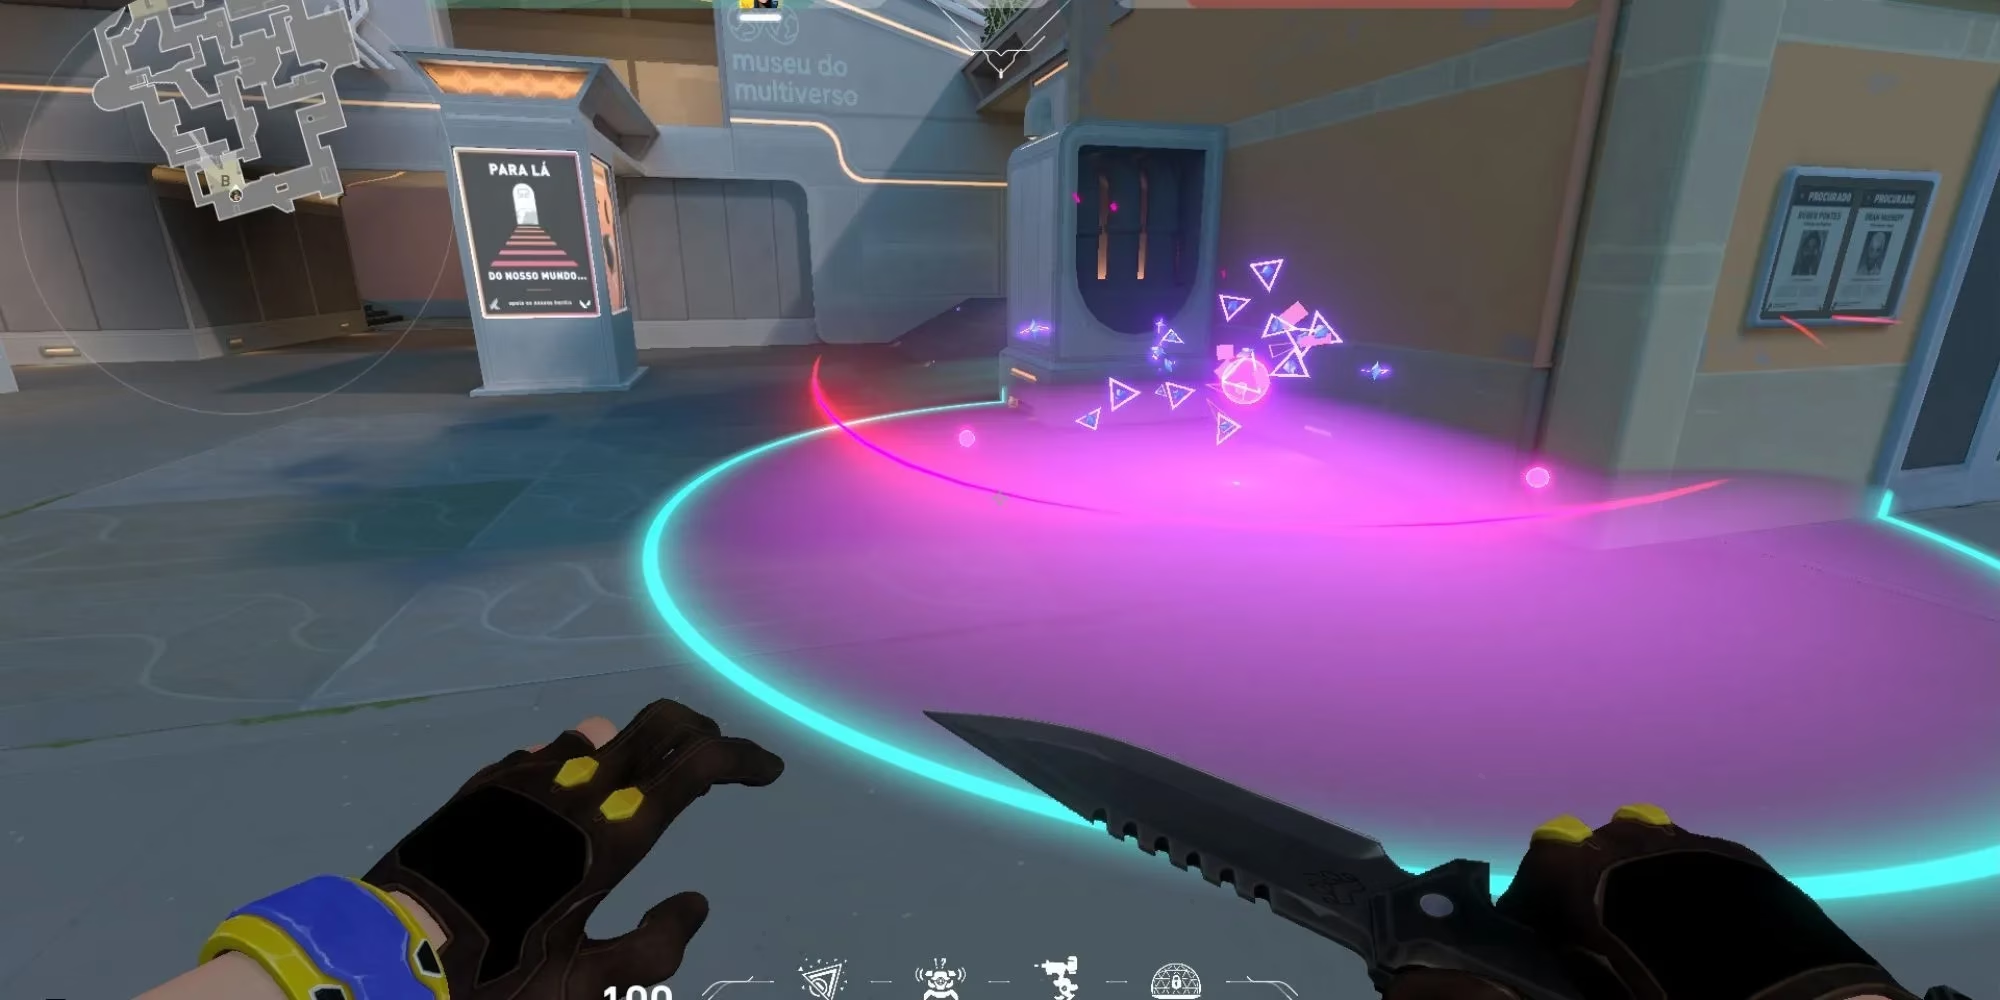
💣 Spike Planted in the Default Spot
This is the classic plant spot, tucked in the right corner as you enter the site from B Main. Your teammates will plant here 80% of the time, so these lineups are as essential as knowing your alphabet.
B Default Spot Lineup From B Ramp
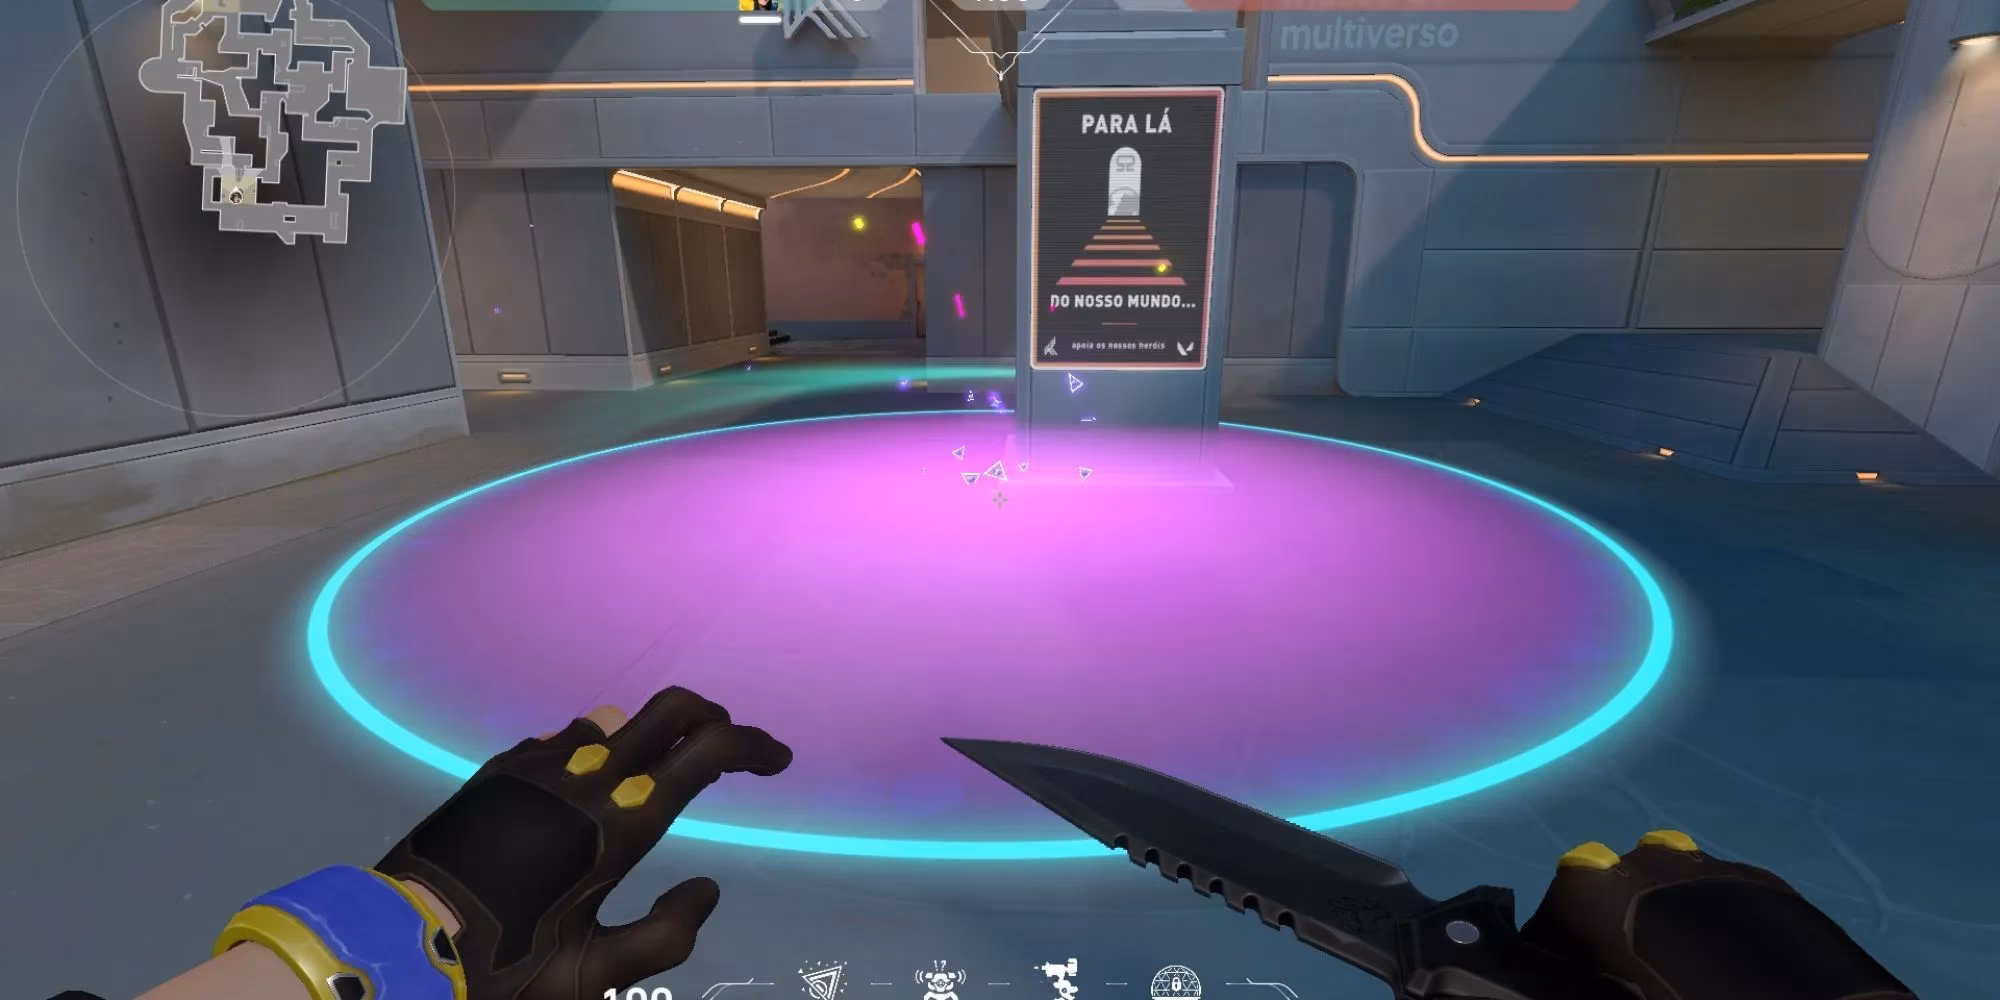
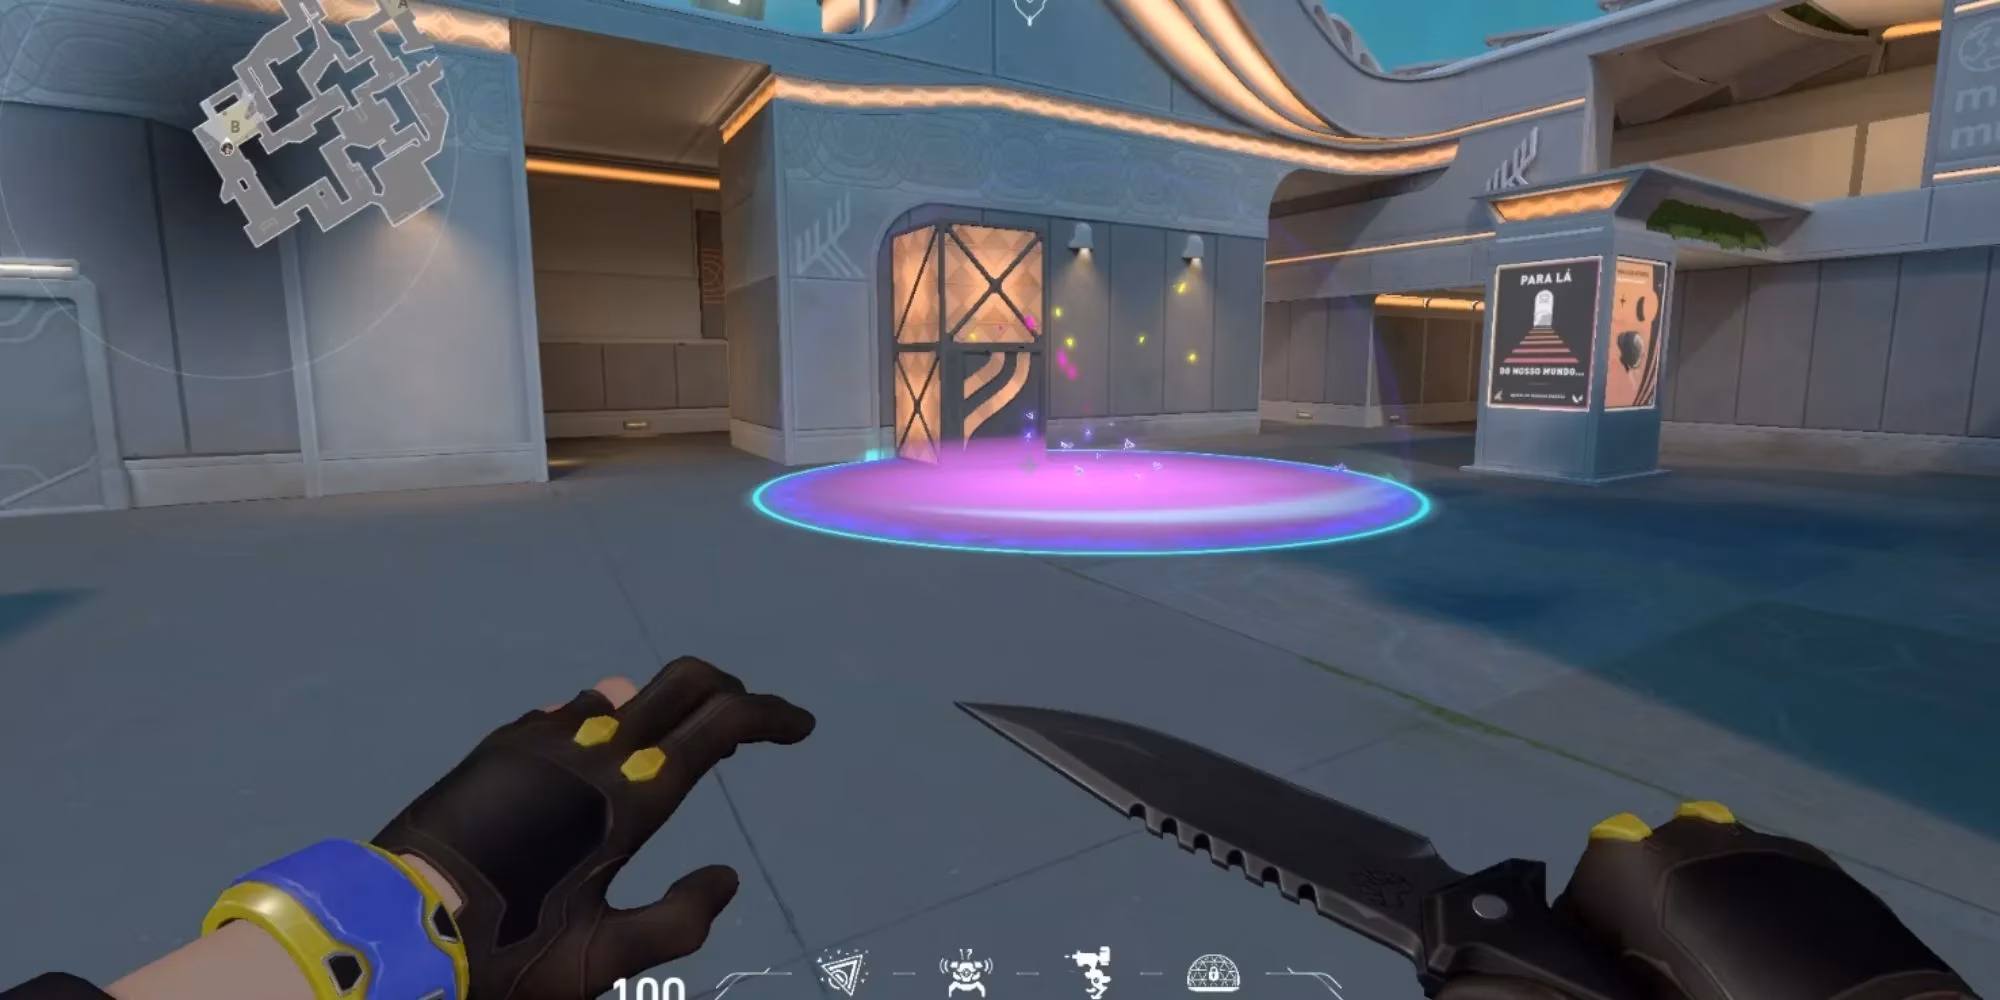
Position yourself on B Ramp facing the door to B Site. Stand so there's just a tiny sliver of space between the middle pillar and the building on your right. Aim at the roof of that building, jump, and throw. It's like threading a needle while doing a pirouette.
This nade will land smack on the default plant, making defuse impossible.
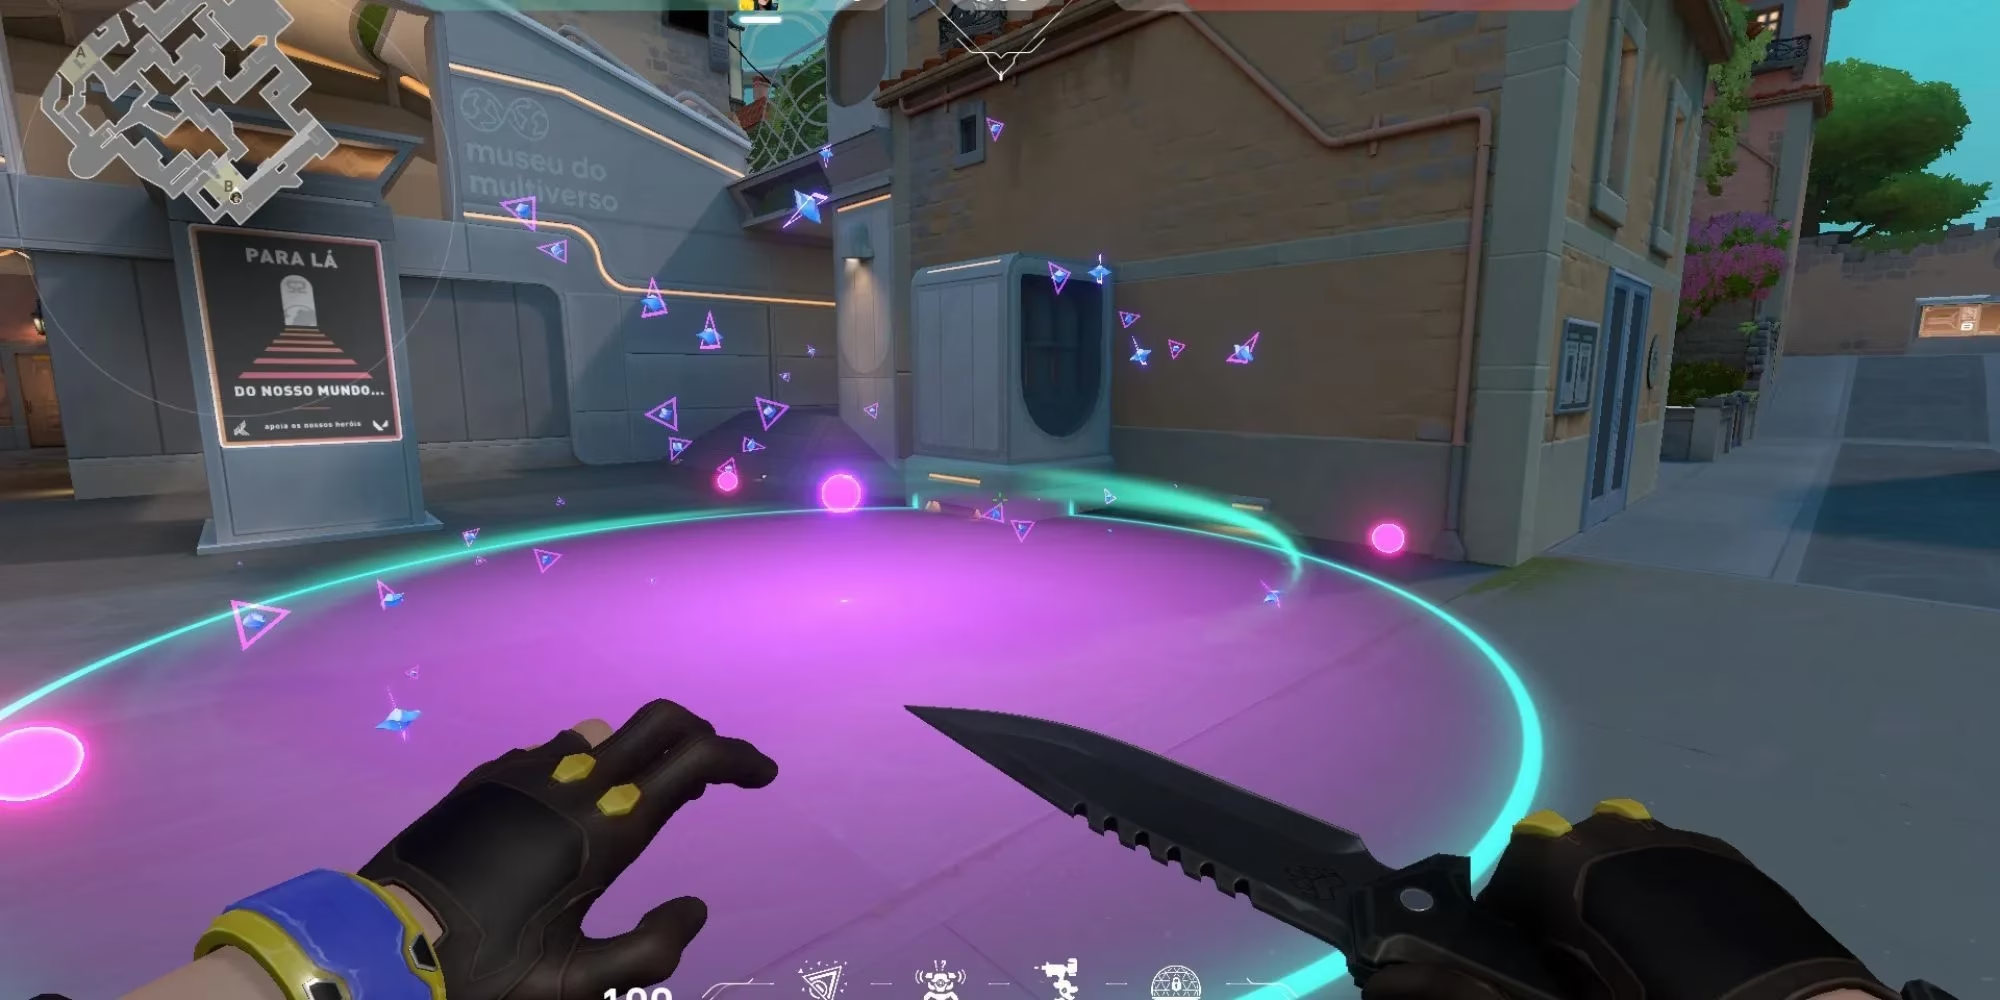
Default Spot Lineup From Mid
Pearl's mid is a battlefield, and sometimes you're stuck there after the plant. No worries! From Mid Connector, stand against the grocery shop wall, on the grey line. Look towards B and align the white line on the right side of your HUD with the roof on the right. Then, let that Swarm Grenade fly!
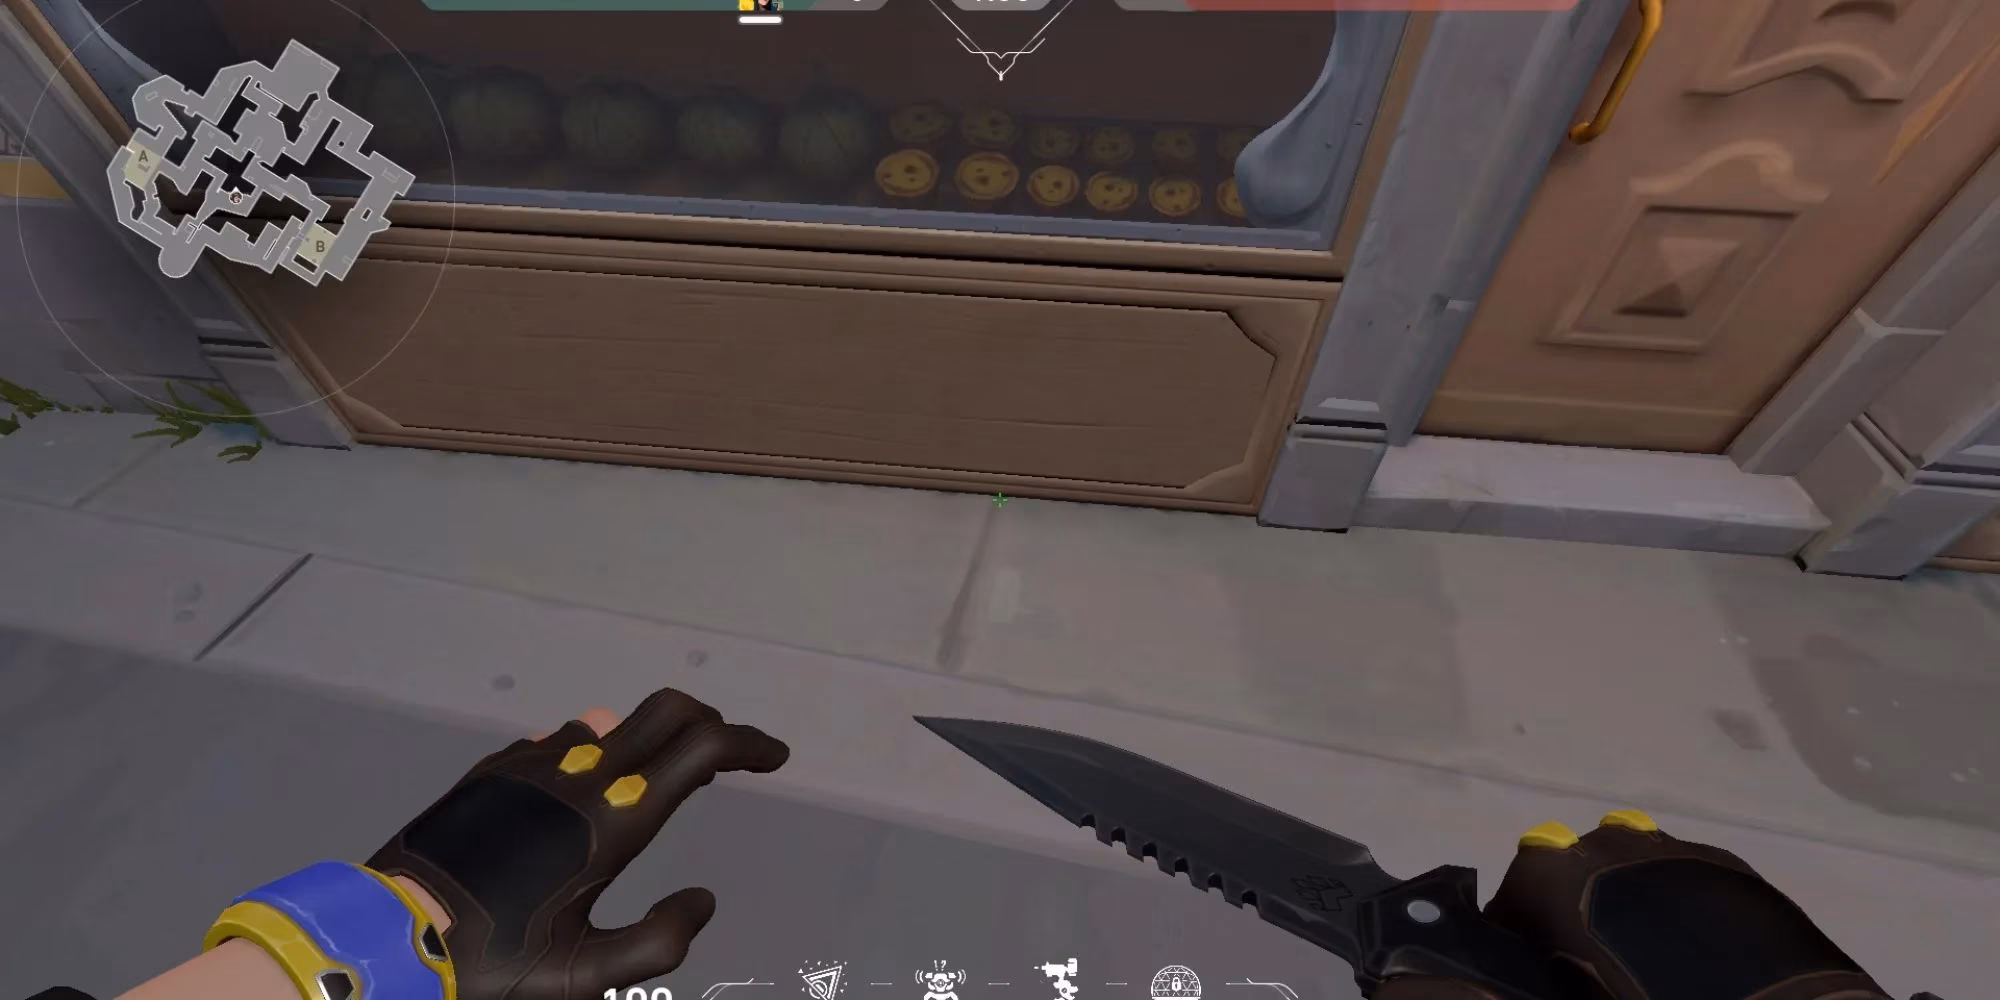
Perfect for when you're anchoring mid and need to support from afar. It's your long-distance, sniper-precision denial tool.
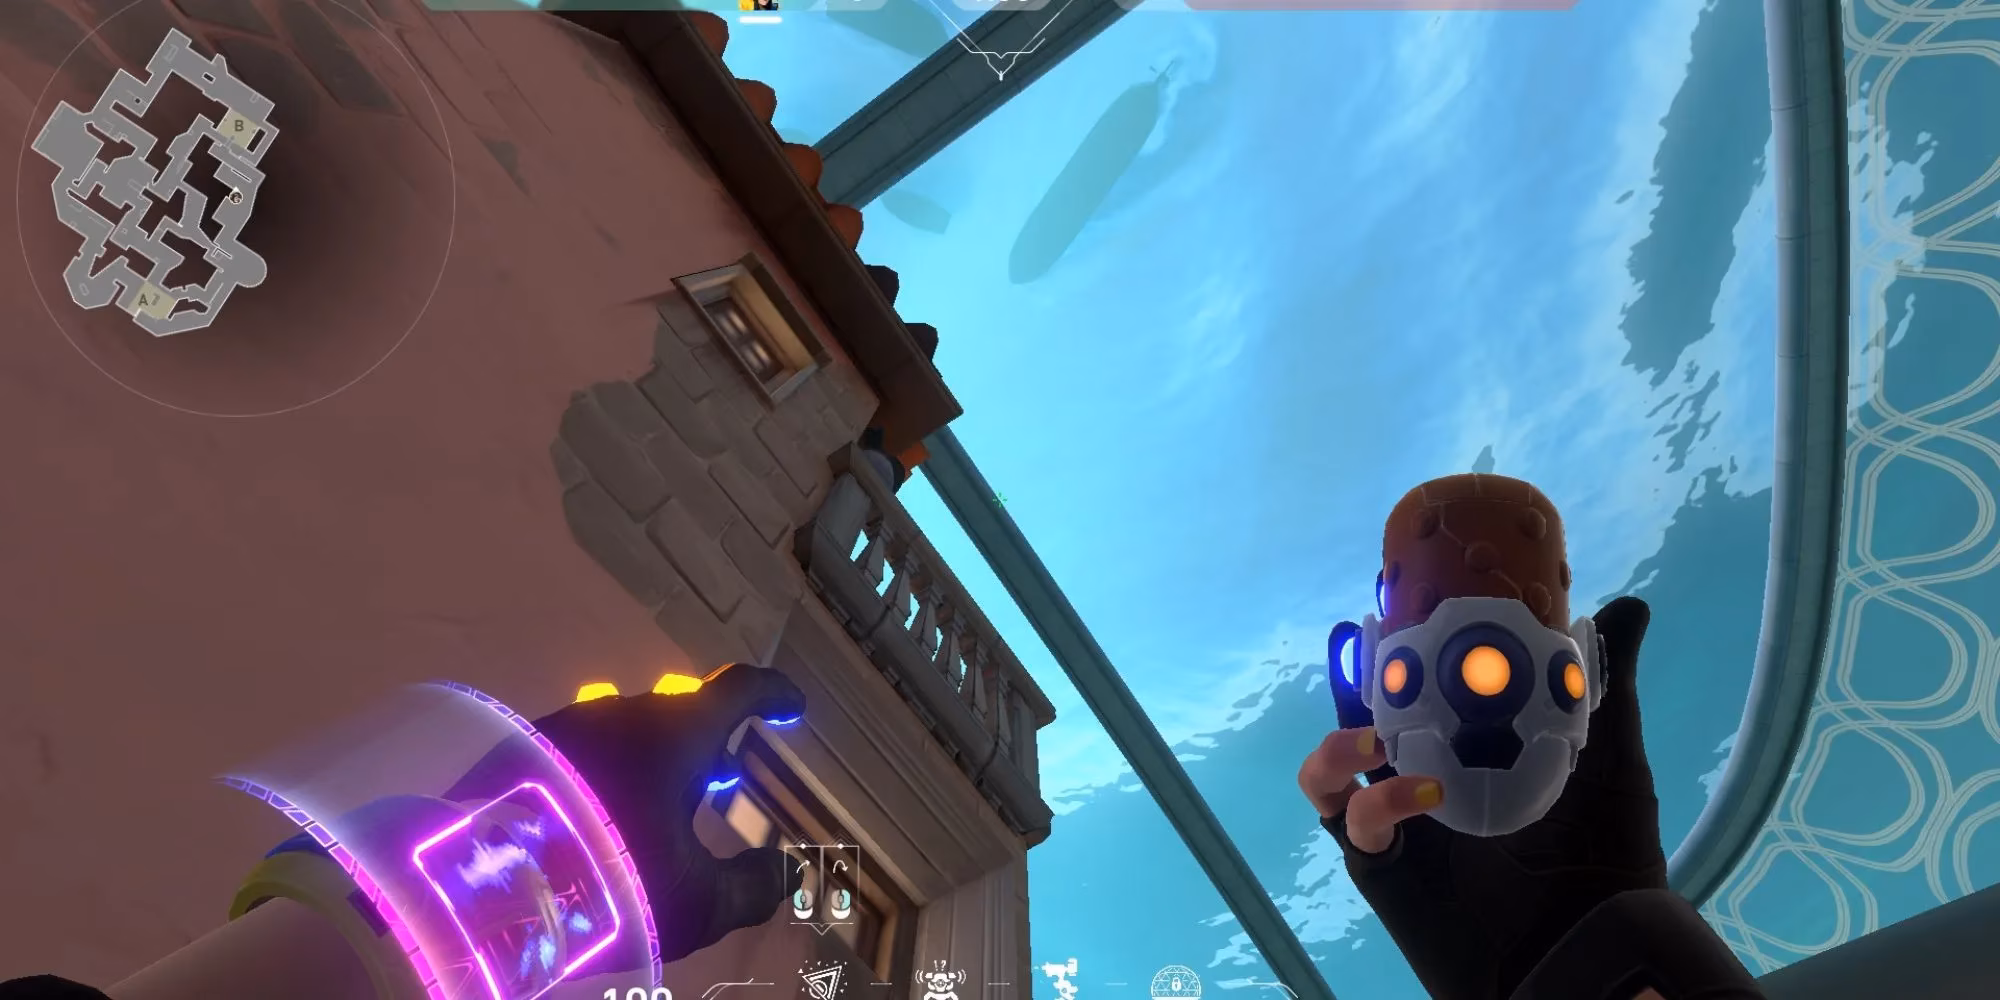
B Default Spot Lineup From Spawn (The Clutch Special)
Will you use this every round? Nah. But in a 1v1 clutch where you've flanked or are rotating late, this is a lifesaver. It's executed from Defender Side Records (basically spawn). Find the two wooden boxes and stand in the corner between them. Look up at the balcony. See the dark lines on the poles? Aim at the second pole from the right, then trace your aim up the grey stripe on the wall until you hit a specific dark line. Confusing? The image is your bible here. Then, jump and throw.
This covers the default spot from an insane distance. Mastering this is like learning a secret handshake with the map's geometry.
🏗️ Spike Planted by B Platform
This tall platform in the middle of B Site is another prime planting location, especially if your team has full control.
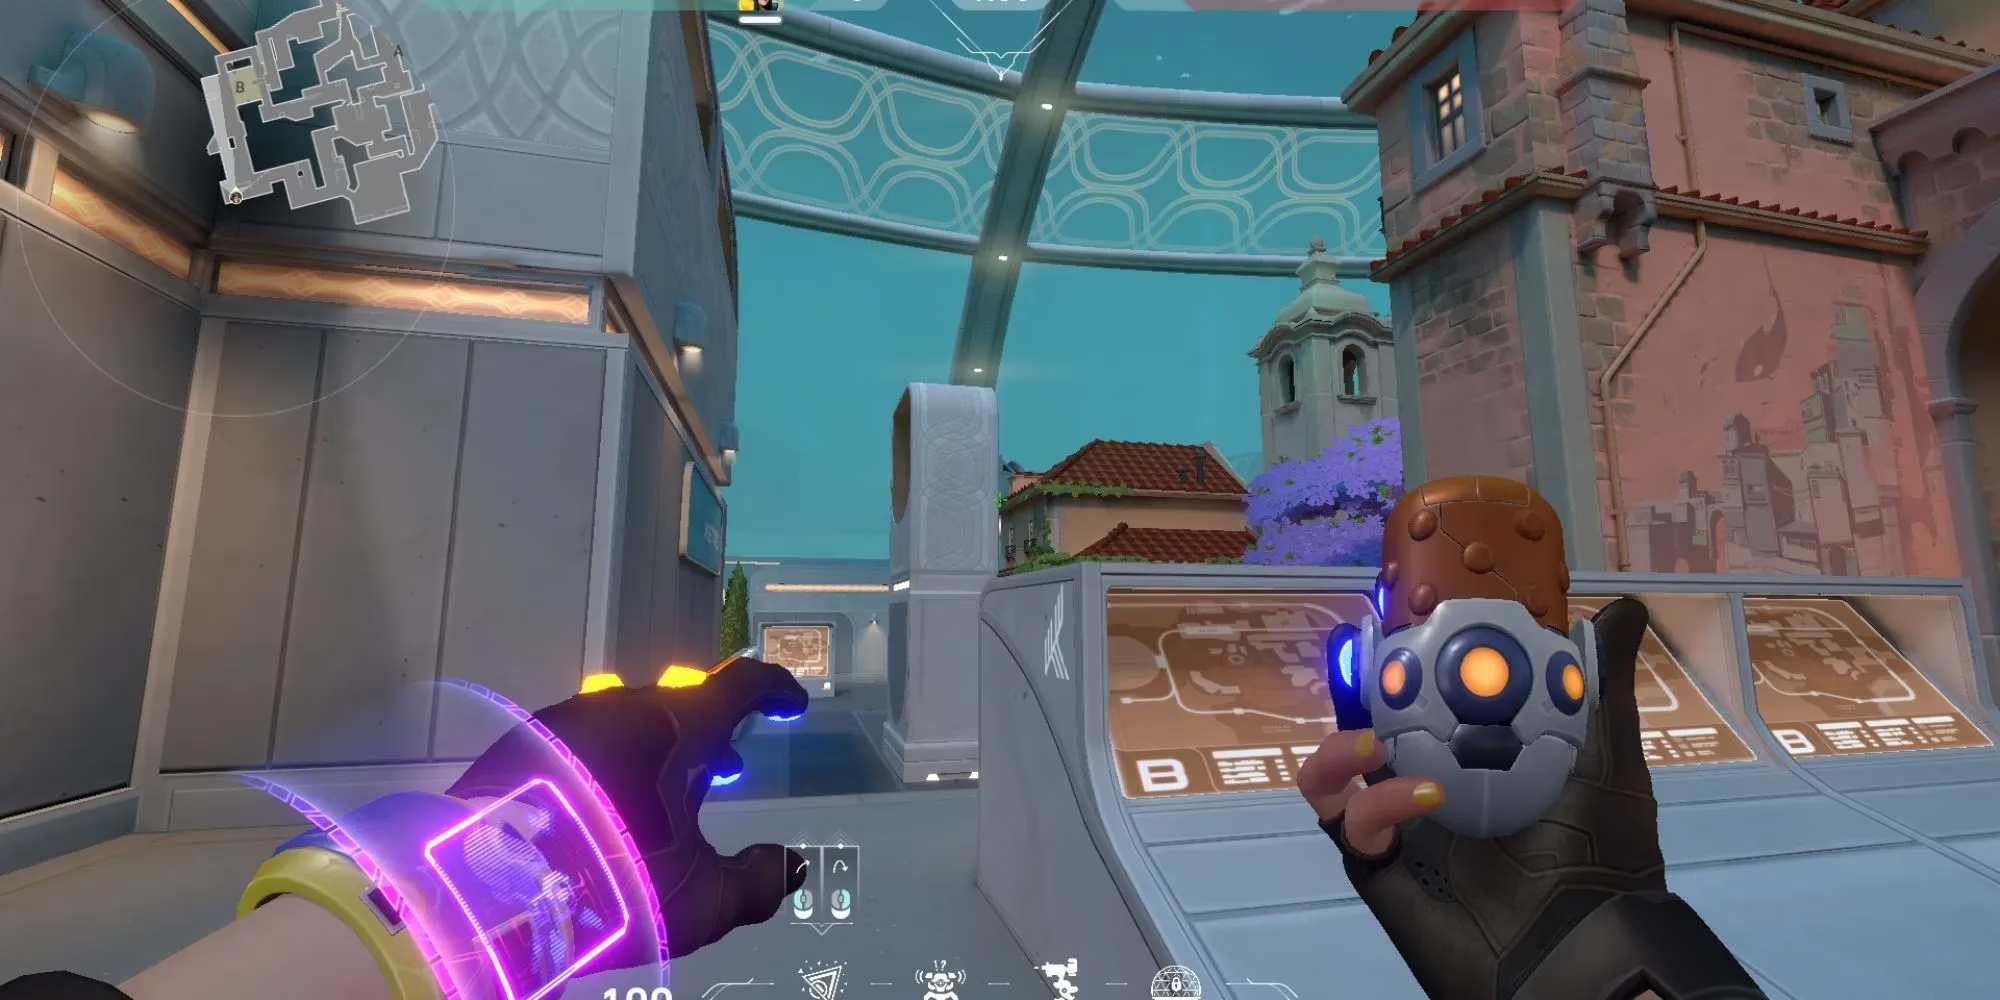
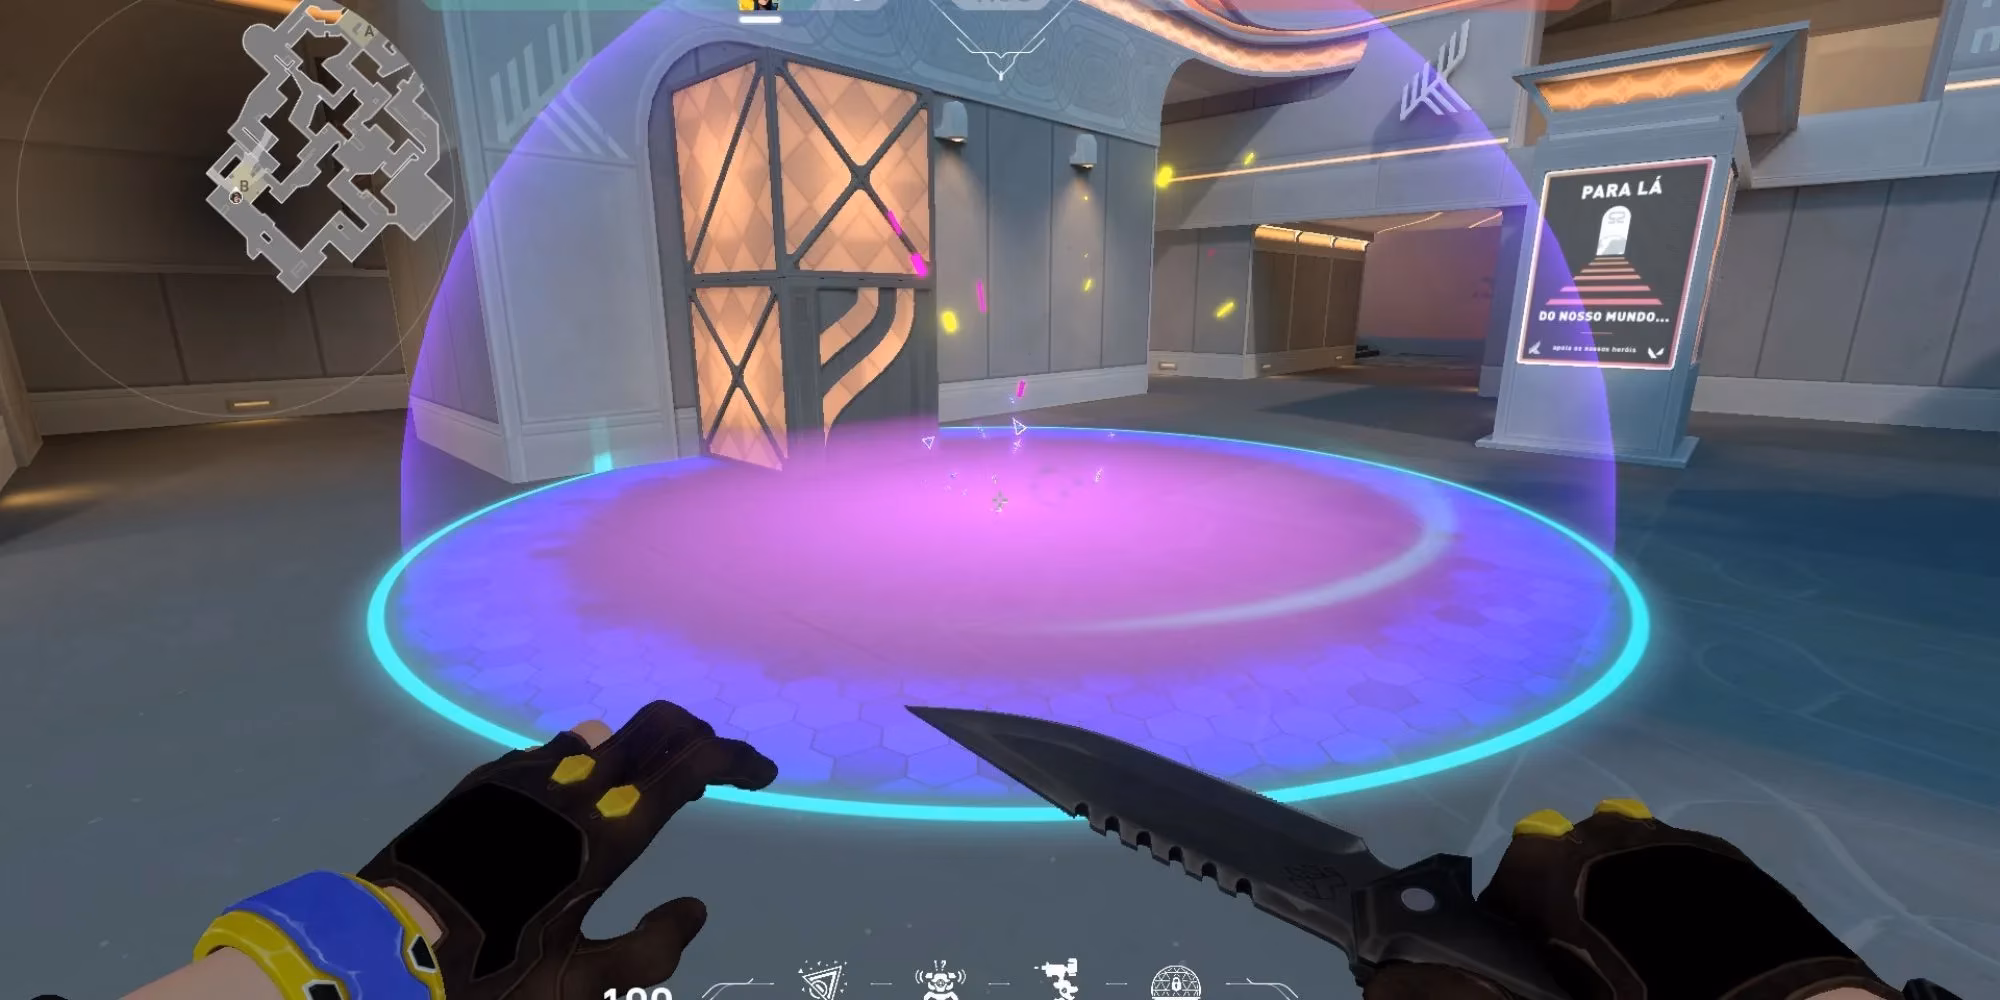
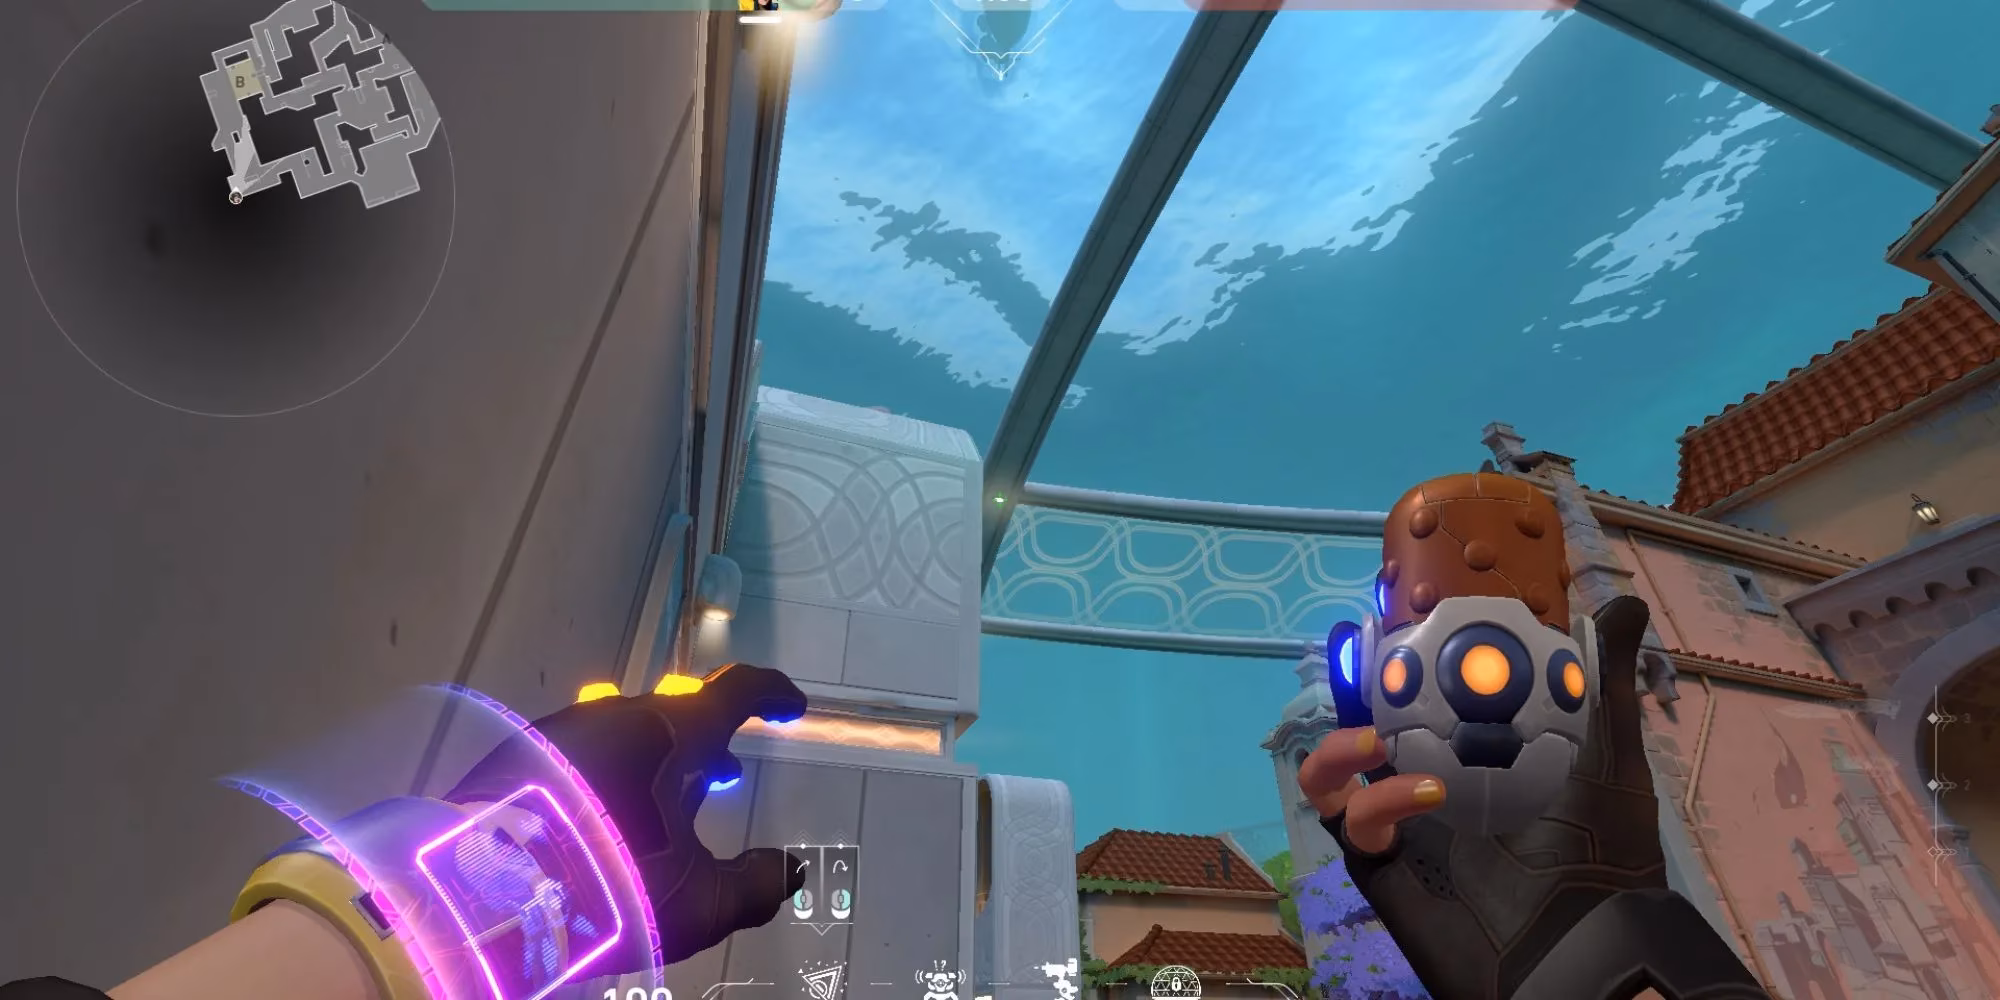
B Platform Lineup From B Ramp
Stand in the left corner of B Ramp. Position your Ultimate Ability icon (the little Killjoy symbol) so it fits perfectly into the corner of the brown roof you see. Then, jump and throw.
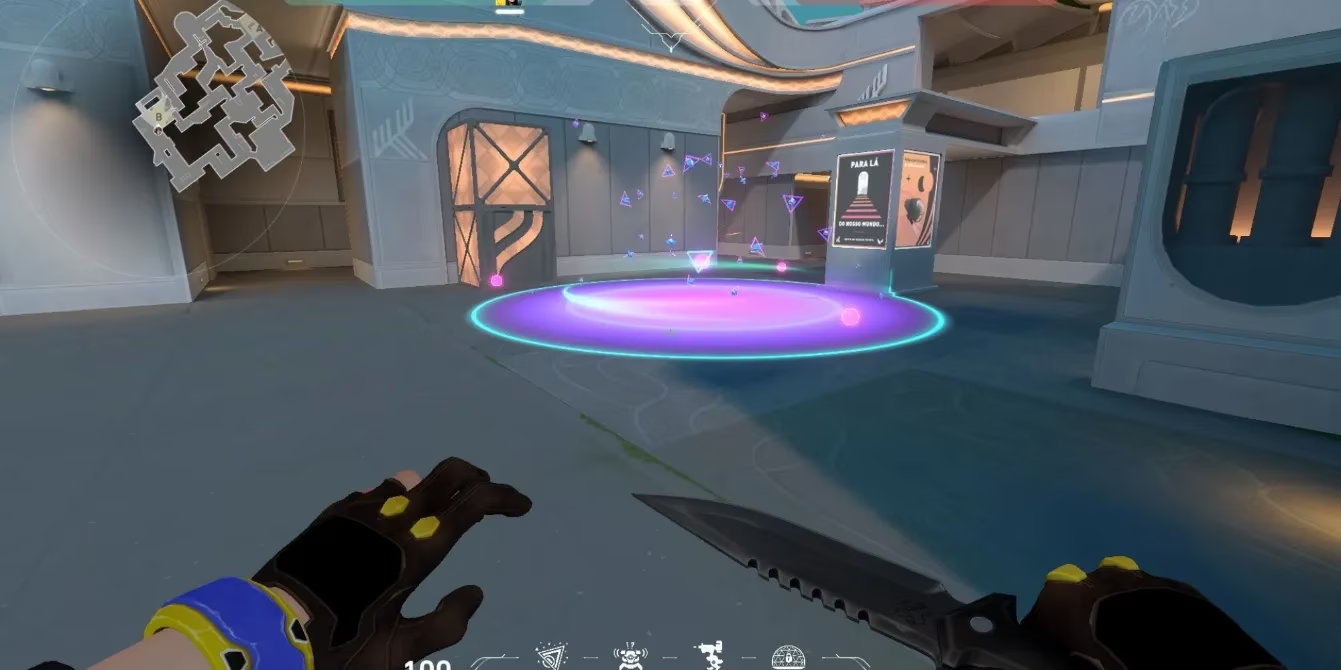
This grenade will cover the area in front of the platform. It's a safe, reliable option that lets you hold an angle while your utility does the work.
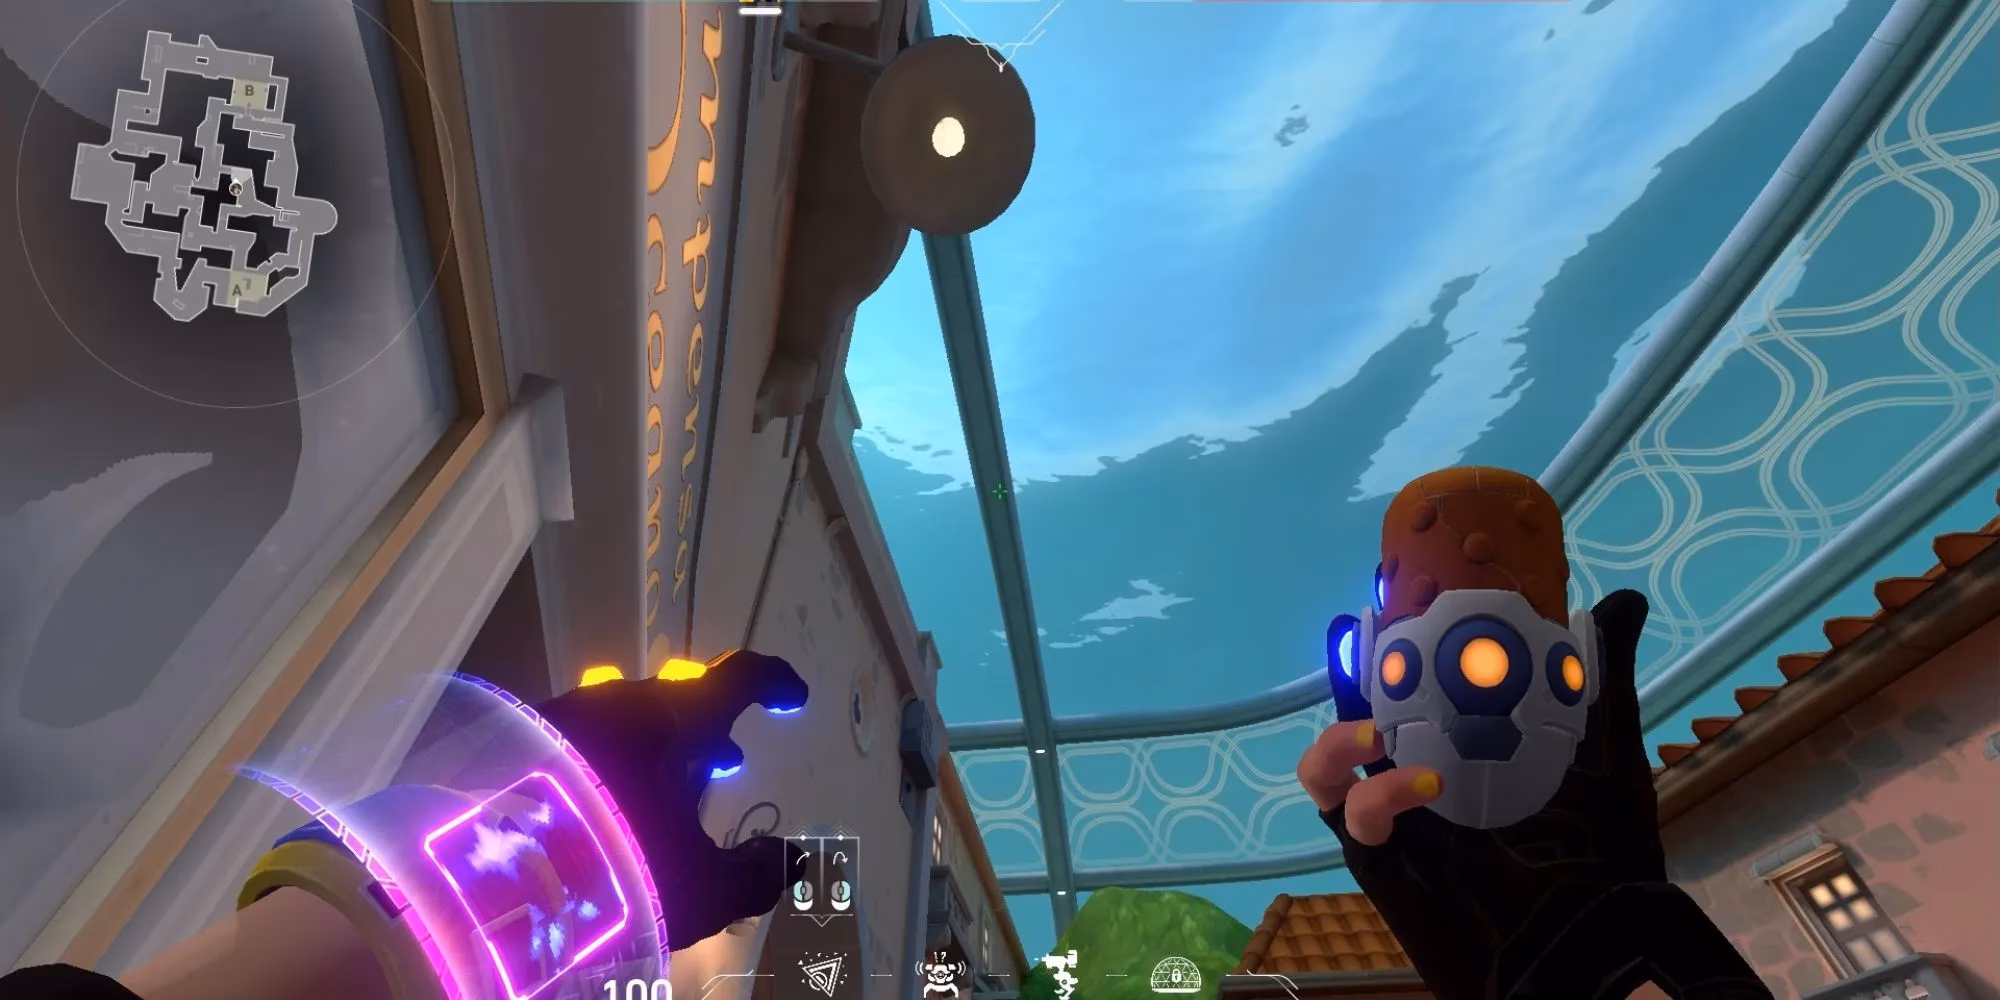
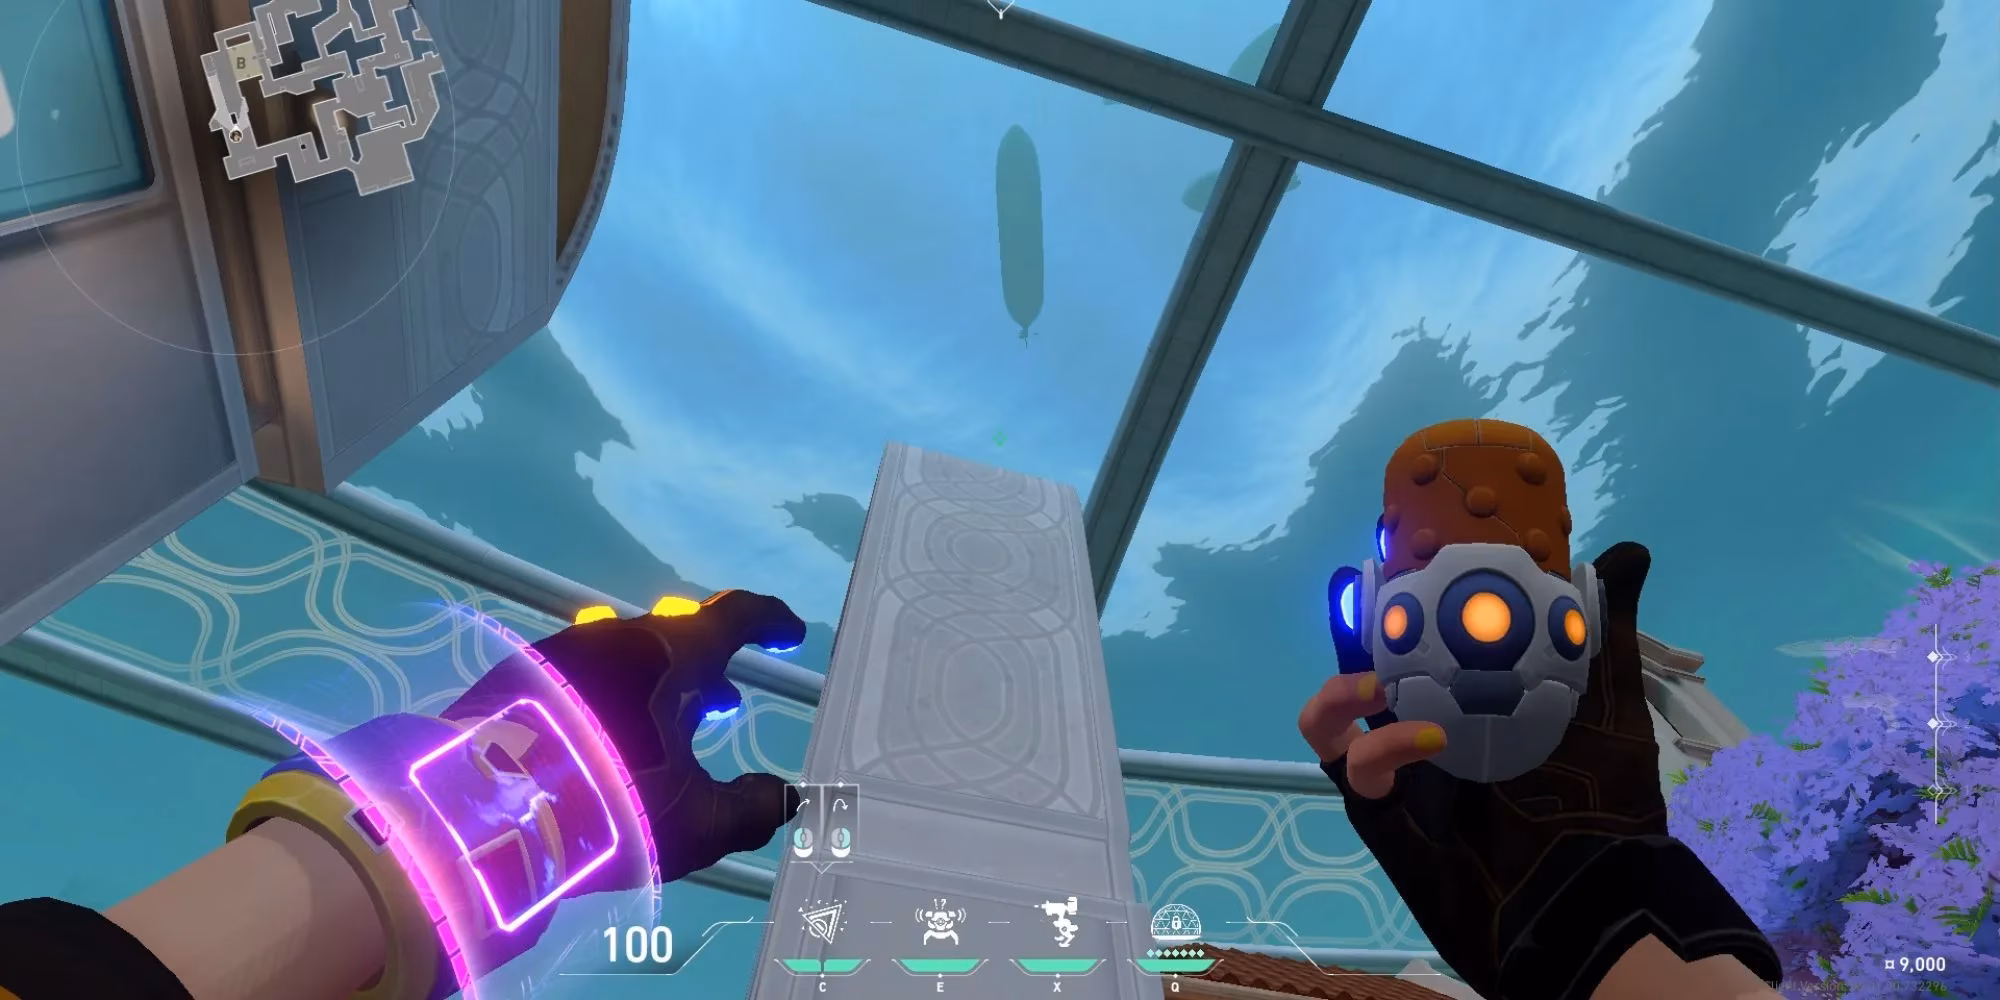
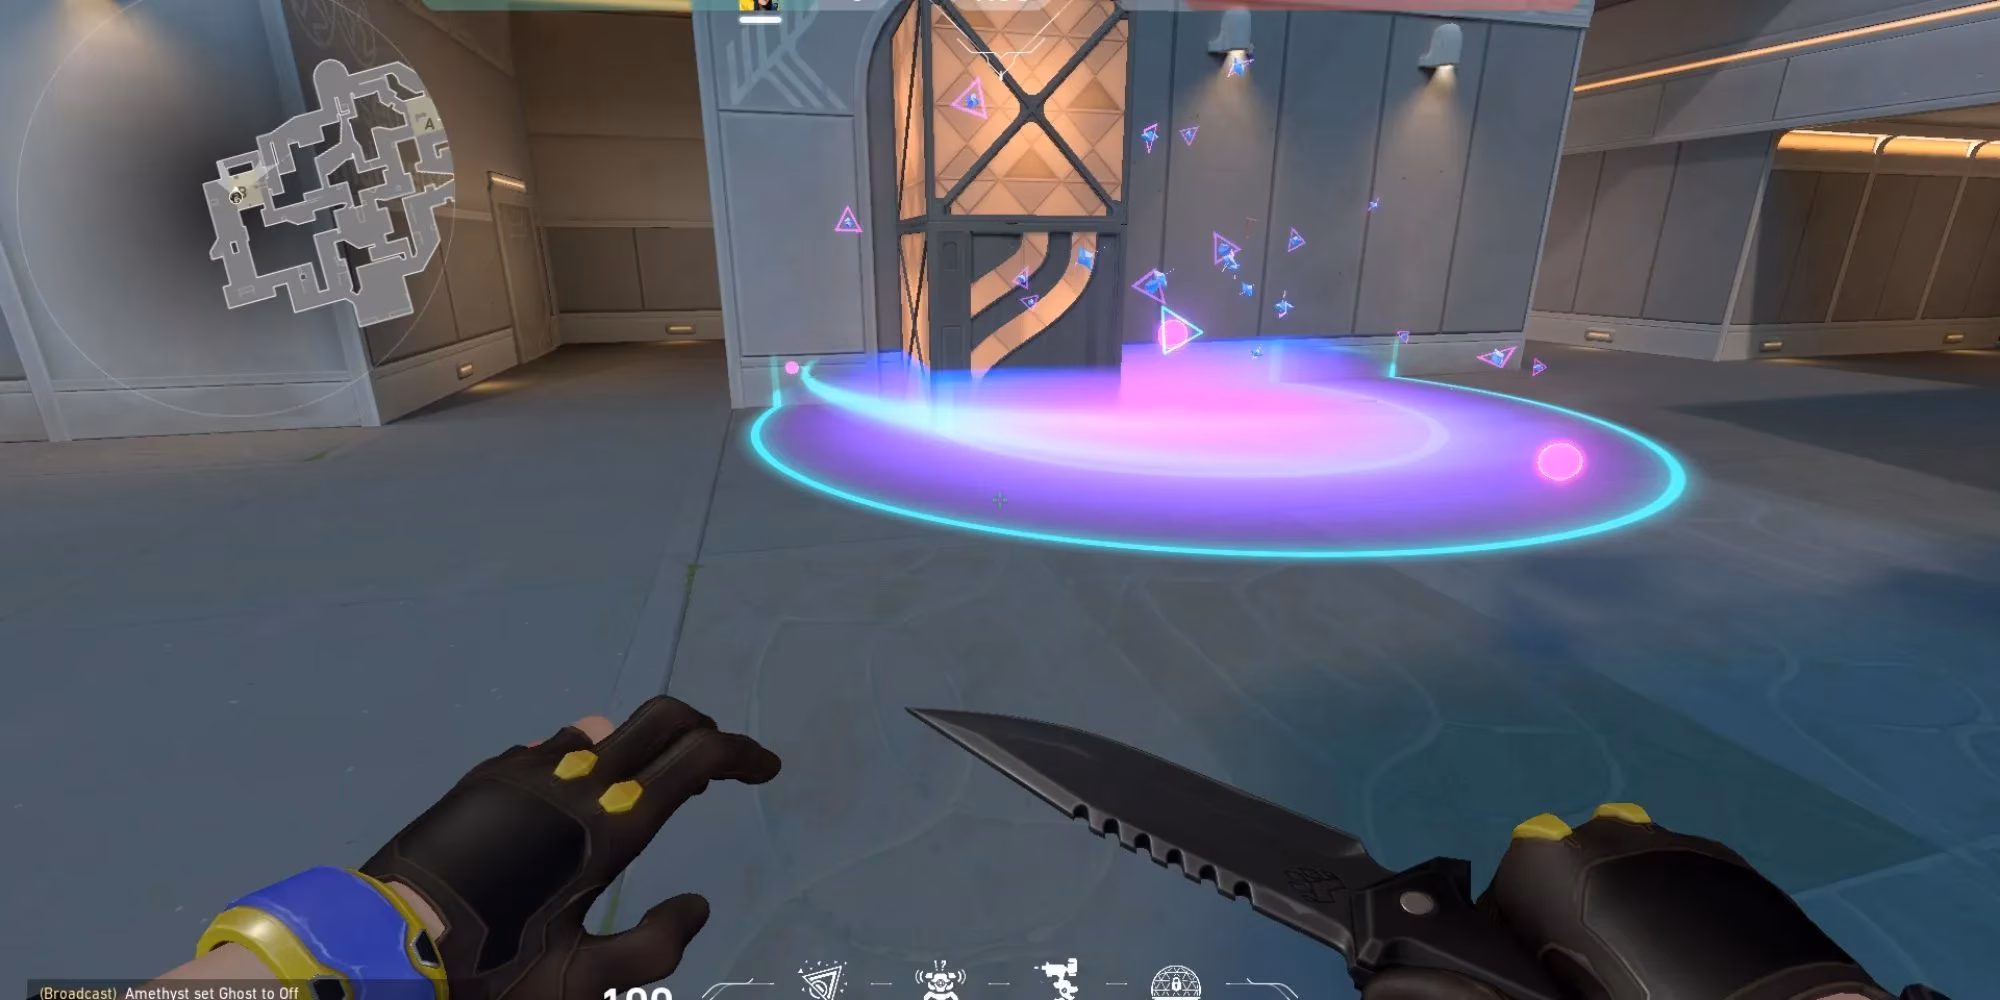
B Platform Lineup From Spawn
Another clutch masterpiece from the spawn area. Same starting point as the default spawn lineup. Stand between the two wooden boxes. Look up at the balcony. This time, use the second pole from the LEFT as your guide. Aim just on top of the grey stripe on the glass ceiling above you, and release your Swarm.
It covers the plant area in front of the platform beautifully. In a tense 1v1, throwing this and hiding is like setting a mousetrap and waiting for the cheese to be taken.
🍊 Spike Planted by B Orange Boxes
This spot is less common but offers amazing lineup angles. It's a smart, off-meta plant that can catch defenders off guard.
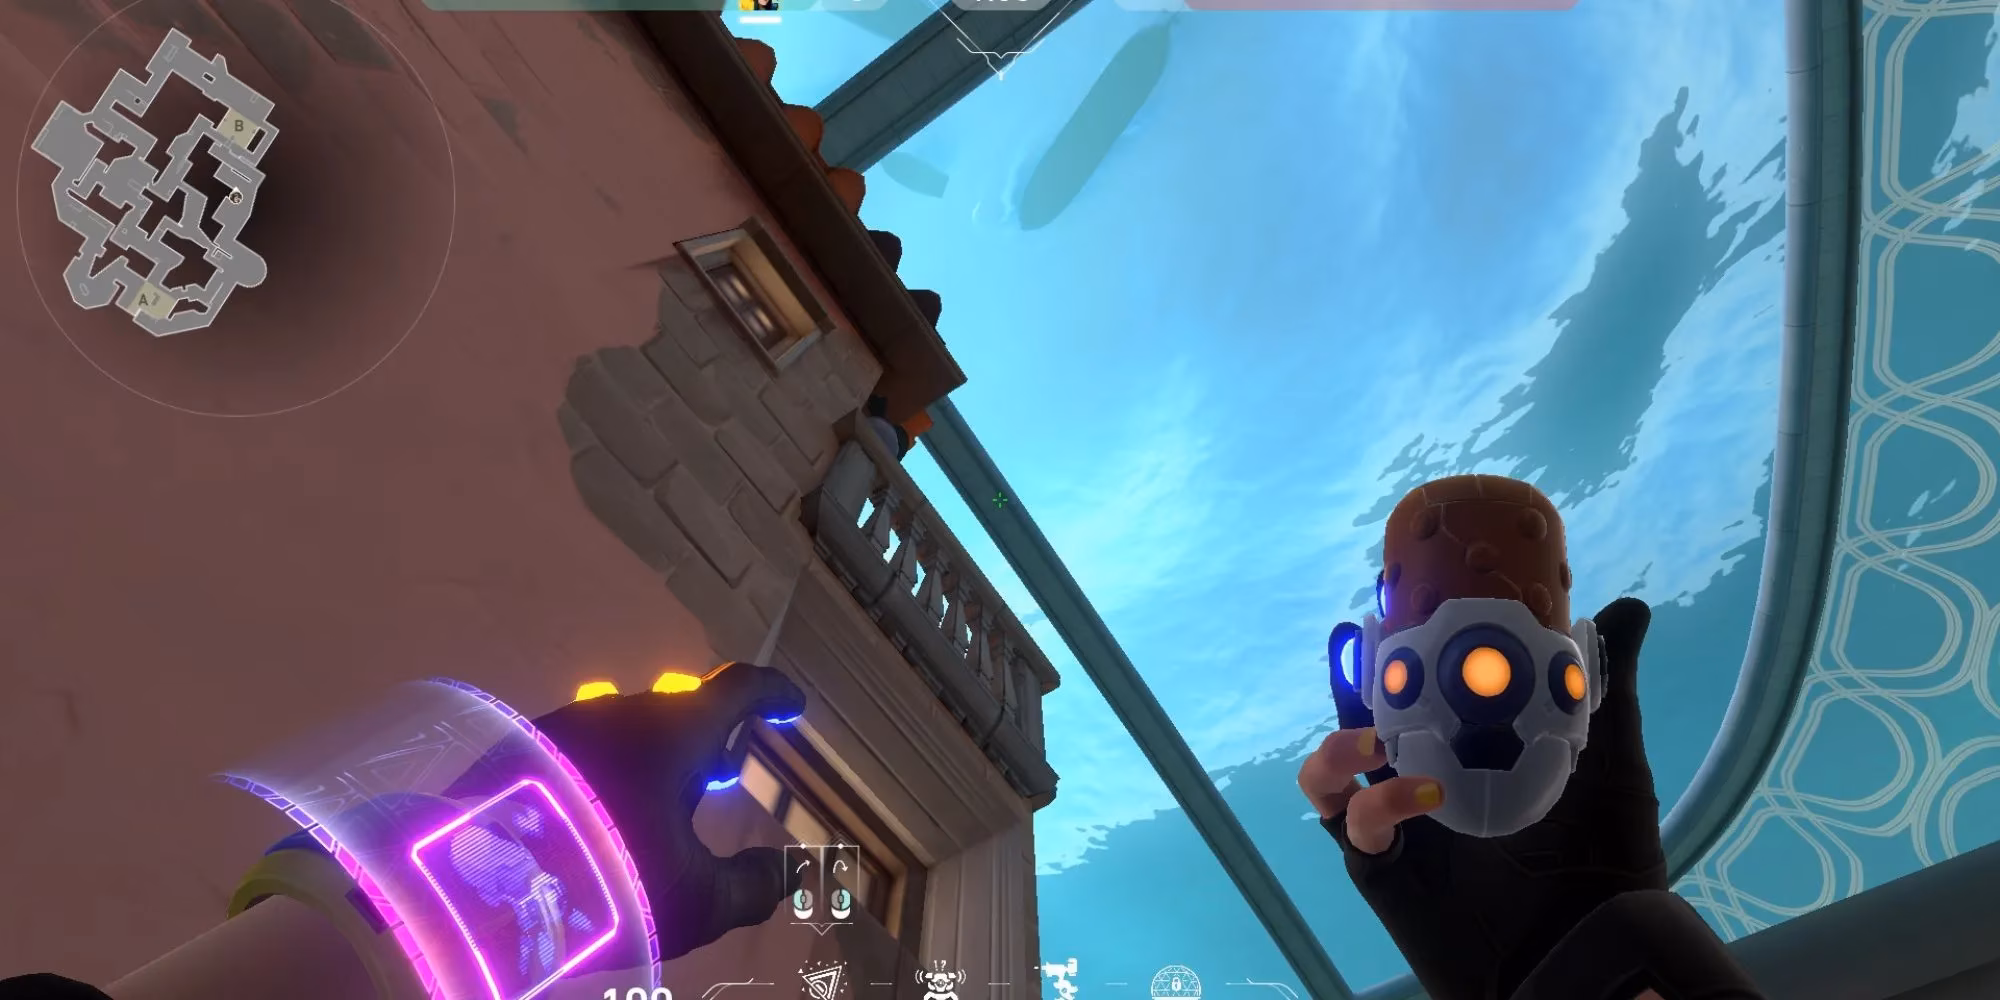
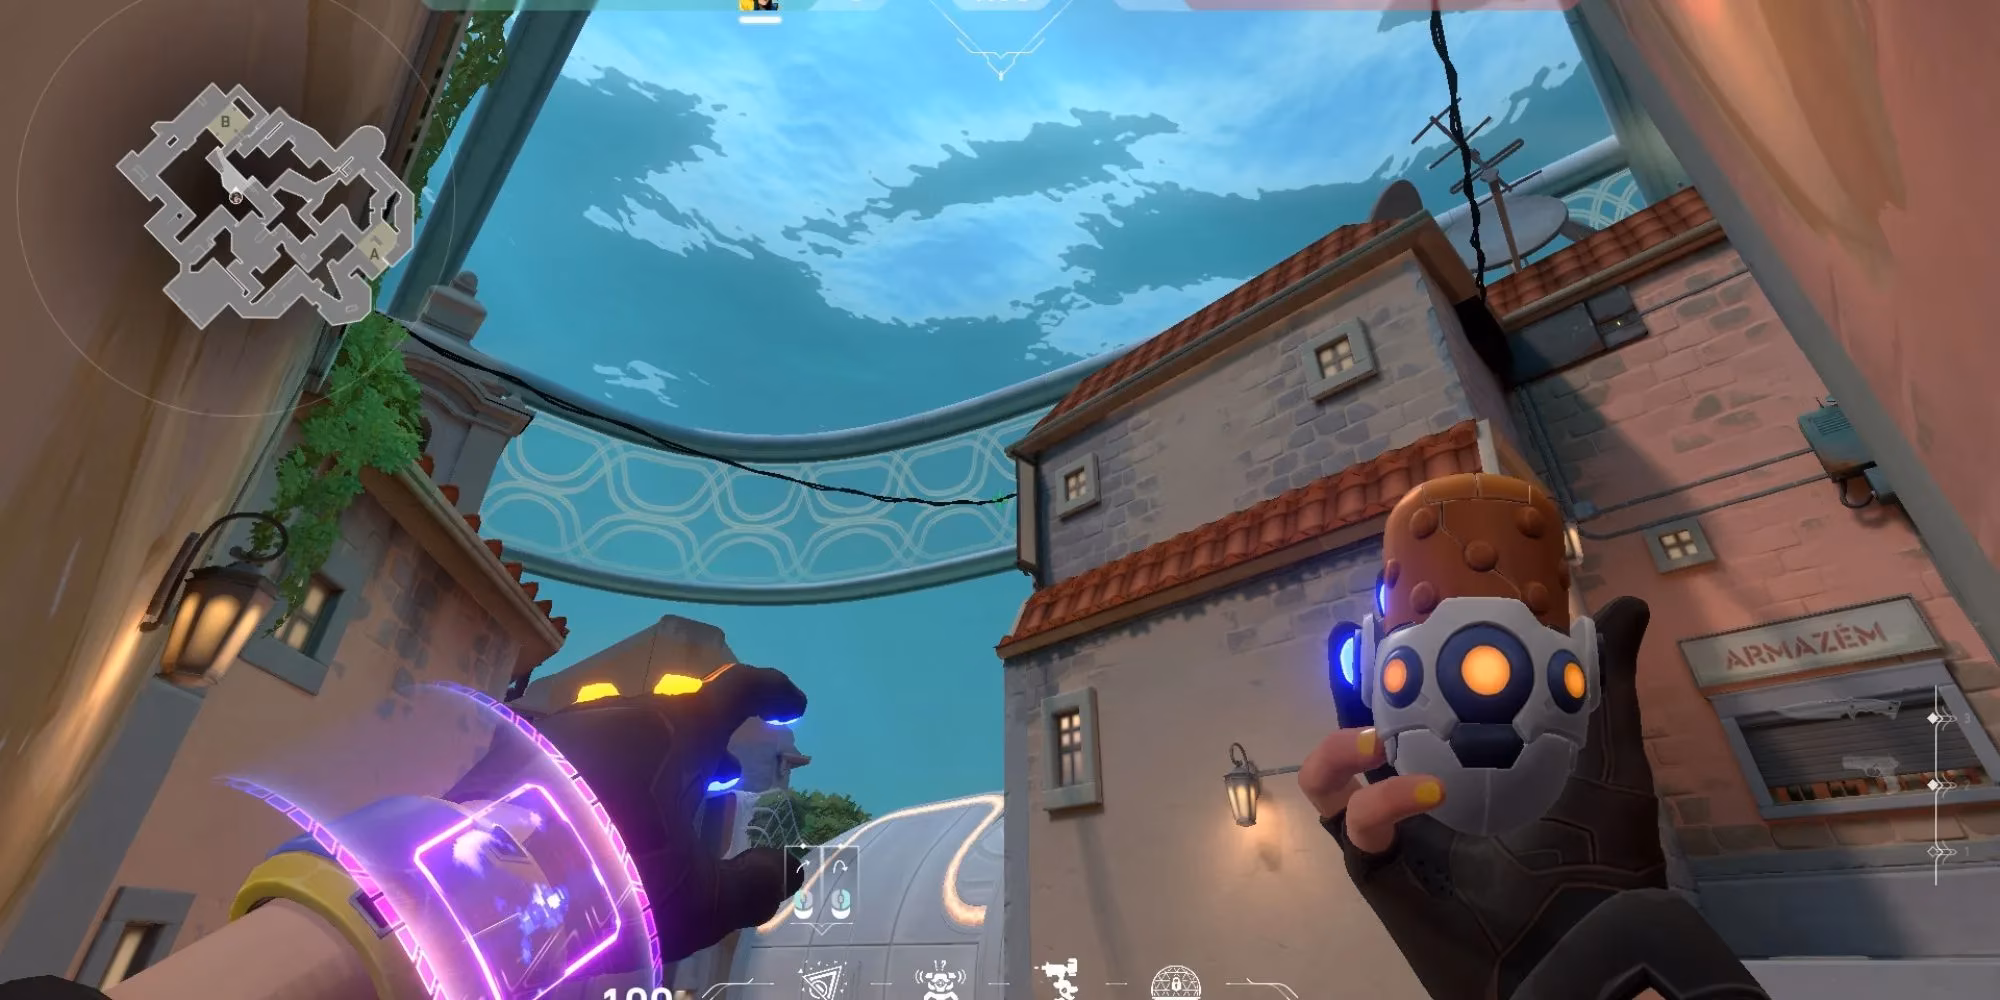
B Orange Boxes Lineup From Above The Pillar in B Main
This one is a bit riskier as you're closer, but sometimes it's your only option. Look down and position yourself exactly as in the screenshot. Aim above the pillar in front of you. There's a small line between your Ultimate icon and your Turret icon—use that as a precise guide. Line it up and throw.
B Orange Boxes Lineup From B Ramp (Simple Version)
If you're holding the left side of B Main from B Ramp, this is easy. Stand in the corner and aim your crosshair directly at a specific small light on the architecture. Jump and throw.
Alternative B Orange Boxes Lineup From B Ramp (Safer Version)
This is my preferred B Ramp lineup for orange boxes. You're less exposed to B Main and potential flanks. Go to the corner of B Ramp, but don't stand in the corner. Stand against the wall where you see two small, dark marks on the bricks. Look up at the red wall and aim at the very top of a thin pipe. Jump and throw.
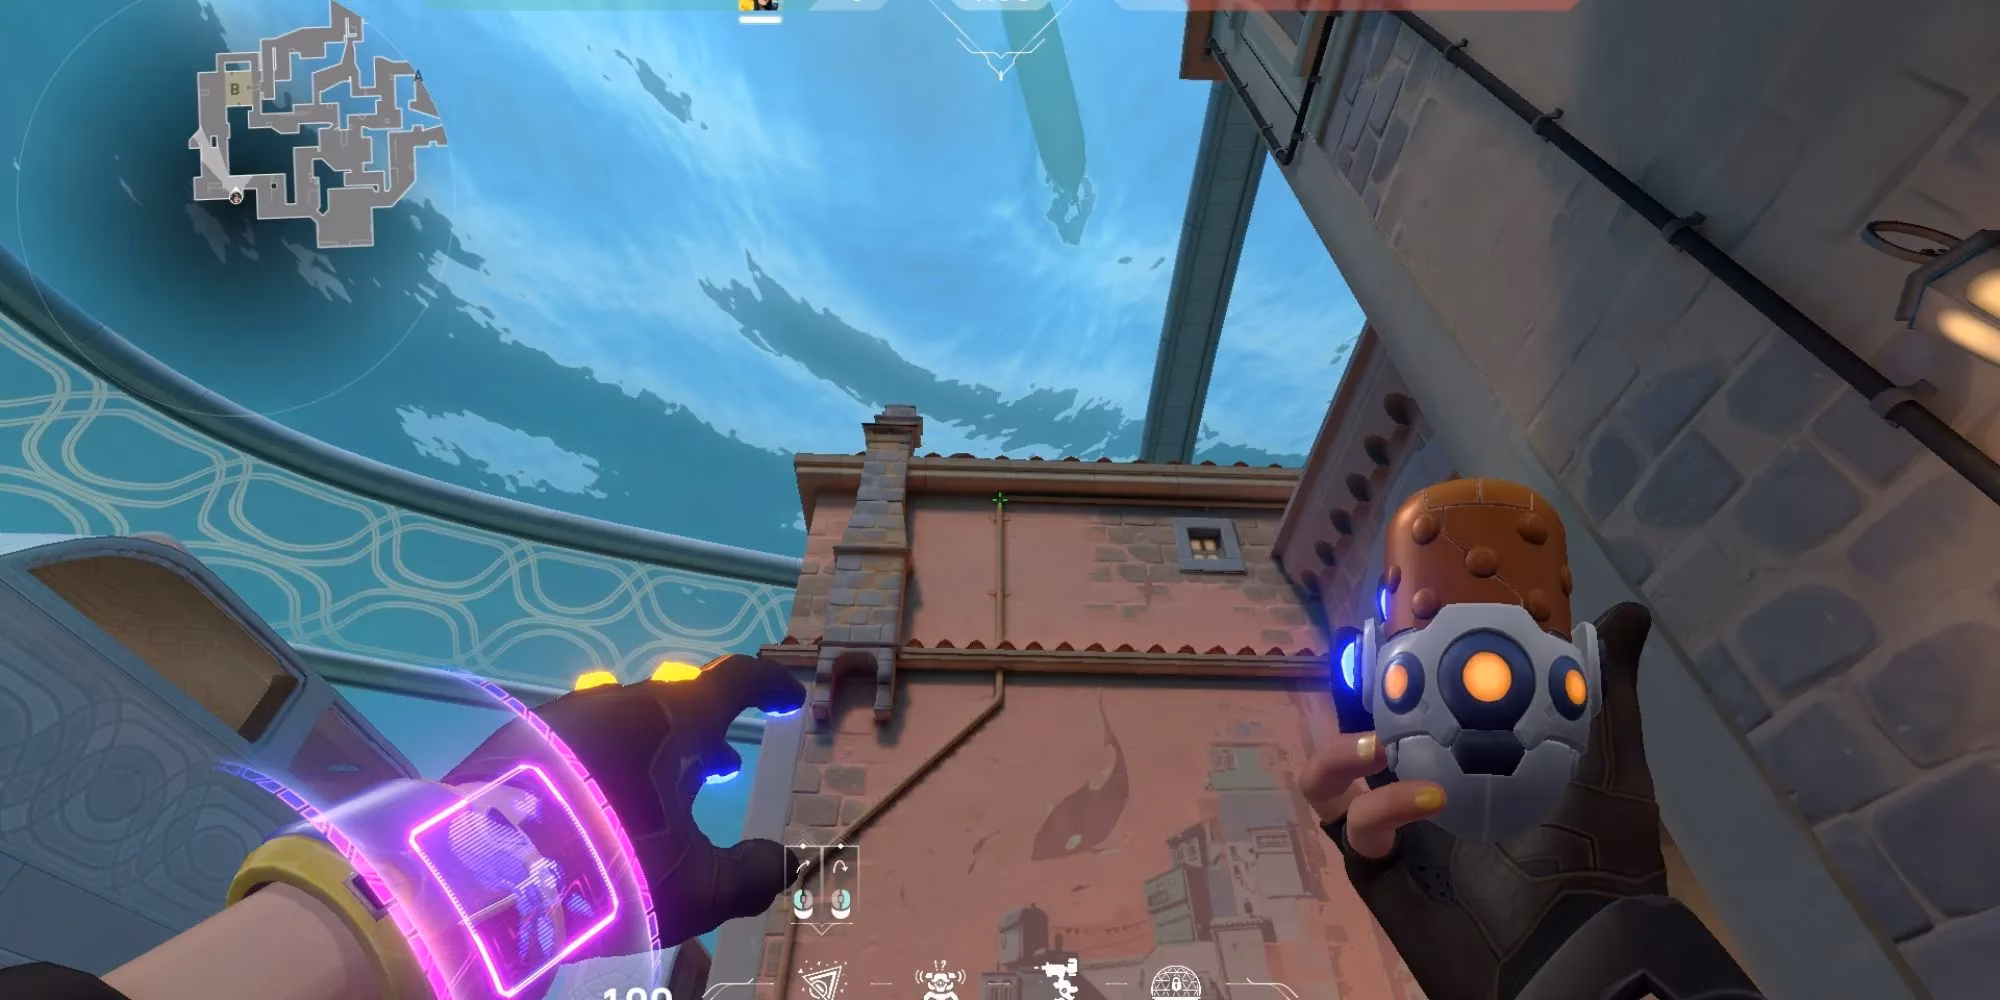
This makes the orange box area a no-go zone for defusers.
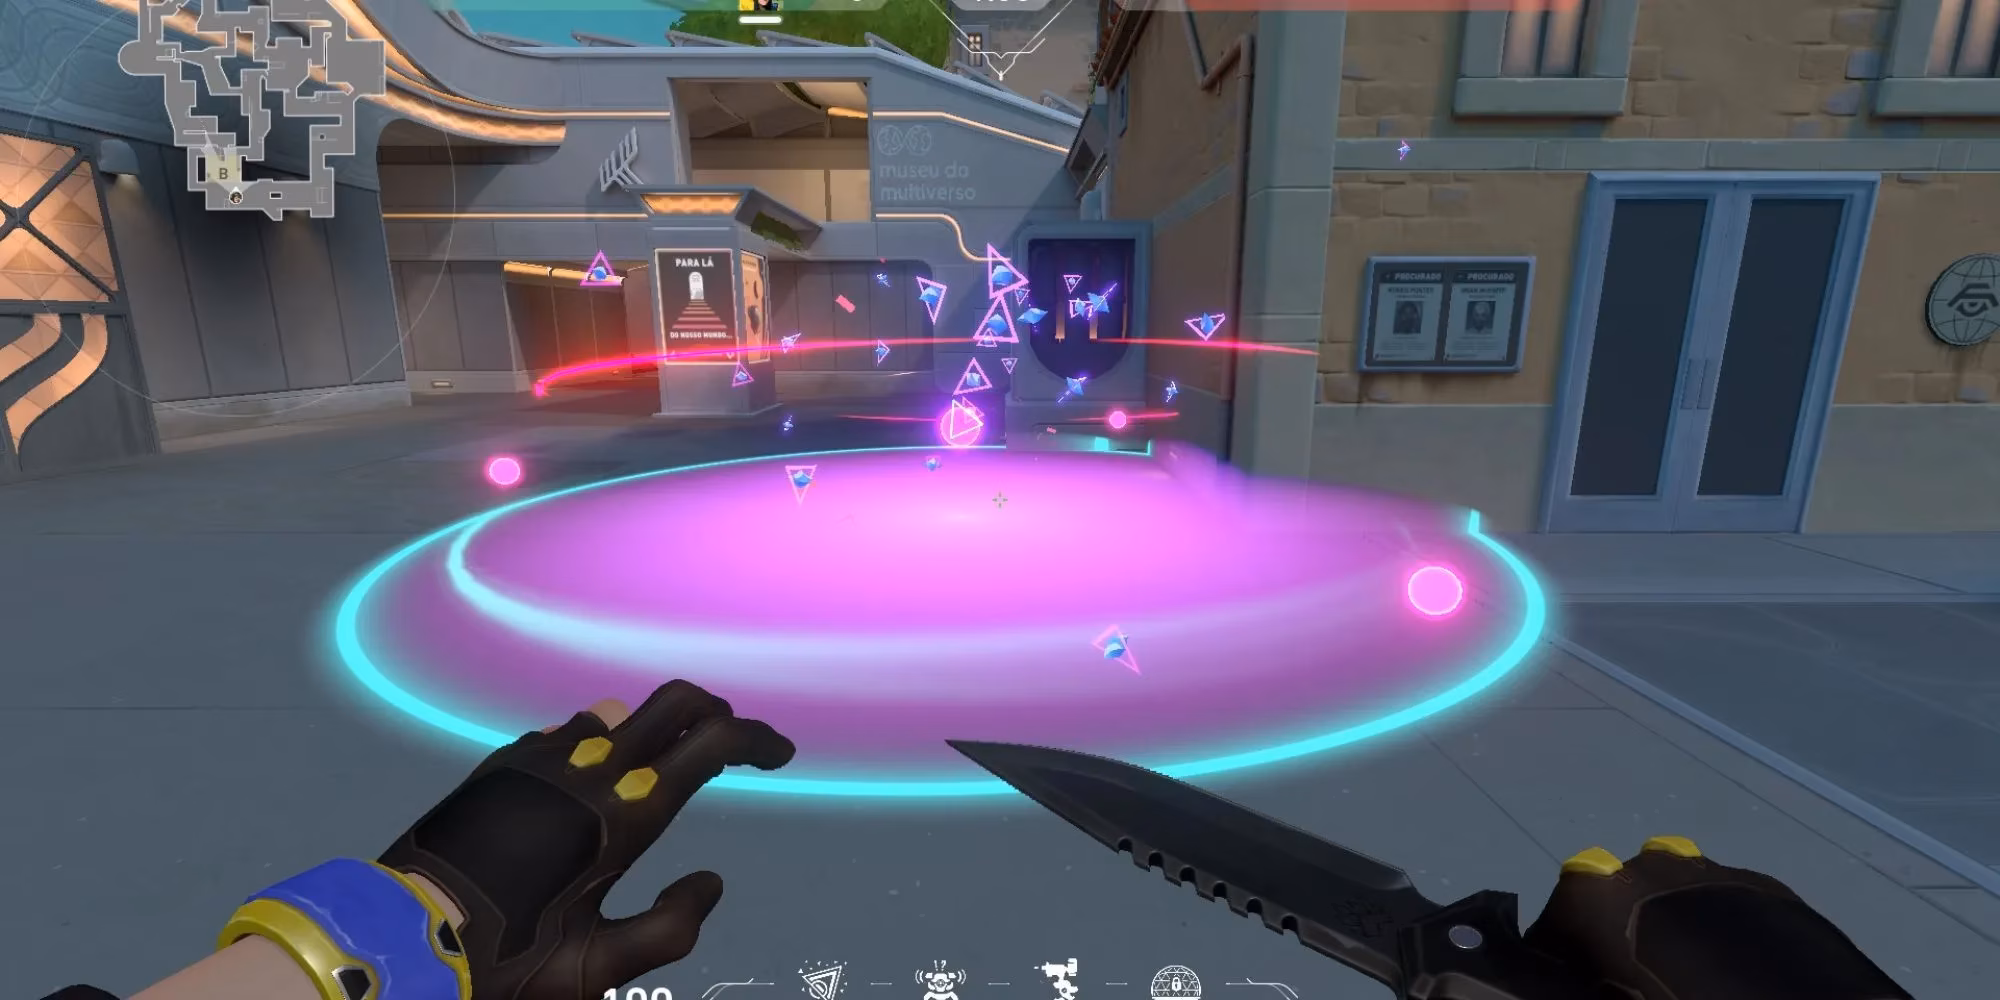
B Orange Boxes Lineup From Mid (B Link)
Yes, you can even hit orange boxes from Mid! If you're pushing through B Link, this is huge. Position yourself in the corner of B Link, at the top of the stairs. Aim up at a wire overhead, placing your crosshair in the middle of the first star-shaped pattern to your right. Throw.
This covers the left corner of the orange boxes perfectly. Executing this after a mid split feels like conducting a symphony of chaos from the wings.
⚡ How You SHOULD Use These Lineups (The Mindset)

These lineups are powerful tools, but they're not a "set it and forget it" win button. Here’s the real talk on how to use them effectively in 2026:
-
DON'T BAIT YOUR TEAM: Your job is to support. Staying alive for the lineup is important, but don't let your duelists die because you're staring at a wall. Time your utility with their pushes.
-
COMMUNICATE, COMMUNICATE, COMMUNICATE: Tell your team! "I have post-plant lineups from B Ramp, don't peek." This stops teammates from taking unnecessary fights and wasting utility.
-
ADAPT AND IMPROVISE: Lineups are a guide, not a religion. If the situation is chaotic and you need to swing and shoot, DO IT. Being a flexible player is better than being a dead player who knew a cool lineup.
-
MIX IT UP ON DEFENSE: These aren't just for attack! Use them to deny plants. Hear them setting up a default execute on B? Toss a Swarm from B Ramp to ruin their plant attempt.
Mastering these Killjoy lineups on Pearl B will turn you from a regular sentinel into a strategic mastermind, controlling rounds from the shadows. Now get into that custom game and start practicing! Go secure those dubs. ✌️