Let me tell you, playing as Brimstone on Fracture in 2026 feels less like a tactical shooter and more like conducting a chaotic orchestra split in half. The map, still bearing the scars of Chamber's meddling, is this bizarre fusion of rusting industry and stubborn greenery, demanding a level of vigilance that can fray your nerves faster than a cheap shoelace. As a Controller main, I've learned that success here hinges on one thing: managing two battlefronts simultaneously with your three precious smokes. You're not just denying sightlines; you're weaving a fabric of controlled space across a chasm, and Brimstone's adaptable kit is the perfect loom for the job.
🎯 Attacking the B Site: The Standard Split
In most rounds, the golden rule for Fracture still holds true: hit the site from both sides, like a pair of pincers closing on a stubborn nut. This splits the defenders' attention and keeps your rotation options open. Your smokes shouldn't be walls for your own team, but veils for the enemy. The key locations are as timeless as the map itself:
-
Generator: The classic power position for defenders.
-
Canteen: A major rotation and anchor point.
Avoid smoking Tower like it's a plague-ridden village. Blocking it off lets defenders creep right up on your planting team, turning a secure plant into a close-range nightmare. It's better to clear that area with utility or gunfire.
⚡ Attacking B Site: The All-in Push
Sometimes, you're on an eco round or just need to stick together. When you have to funnel your whole team through B Main, your smoke strategy needs to be as dense as a bank vault door. You'll want to cover:
-
Arcade (to cut off the long sightline)
-
Generator
-
Canteen
This triple-layered approach forces any defenders to brawl at close range, which often favors a coordinated attacker push.
🏜️ Attacking the A Site: The Classic Pincer
A Site offers its own brand of chaos. The infamous Door near A Main is a strategic wildcard, acting like a secret tunnel that can suddenly flood the site. If your team ignores Door and commits to a Main push, your smoke responsibilities are clear:
-
Defender Spawn (to stop rotations from that direction)
-
Sand (the elevated platform)
-
Drop (the connector from Dish)
However, if you're splitting through Dish, you can often save the Drop smoke for later. A good split push here puts defenders in a vise, unsure which threat to address first.
🔄 Attacking A Site: The Adaptive Response
Smart defenders will use Rope to punish predictable Main pushes. When they do, it's time to open the floodgates. Push through both Door and A Main simultaneously. Your smokes are similar to the standard A take, but with one crucial addition: Rope. Smoking Rope is like cutting the strings on a defender's puppet; it removes their oversight and allows your team pouring out of Door to secure Sand, a powerhouse position for post-plant.
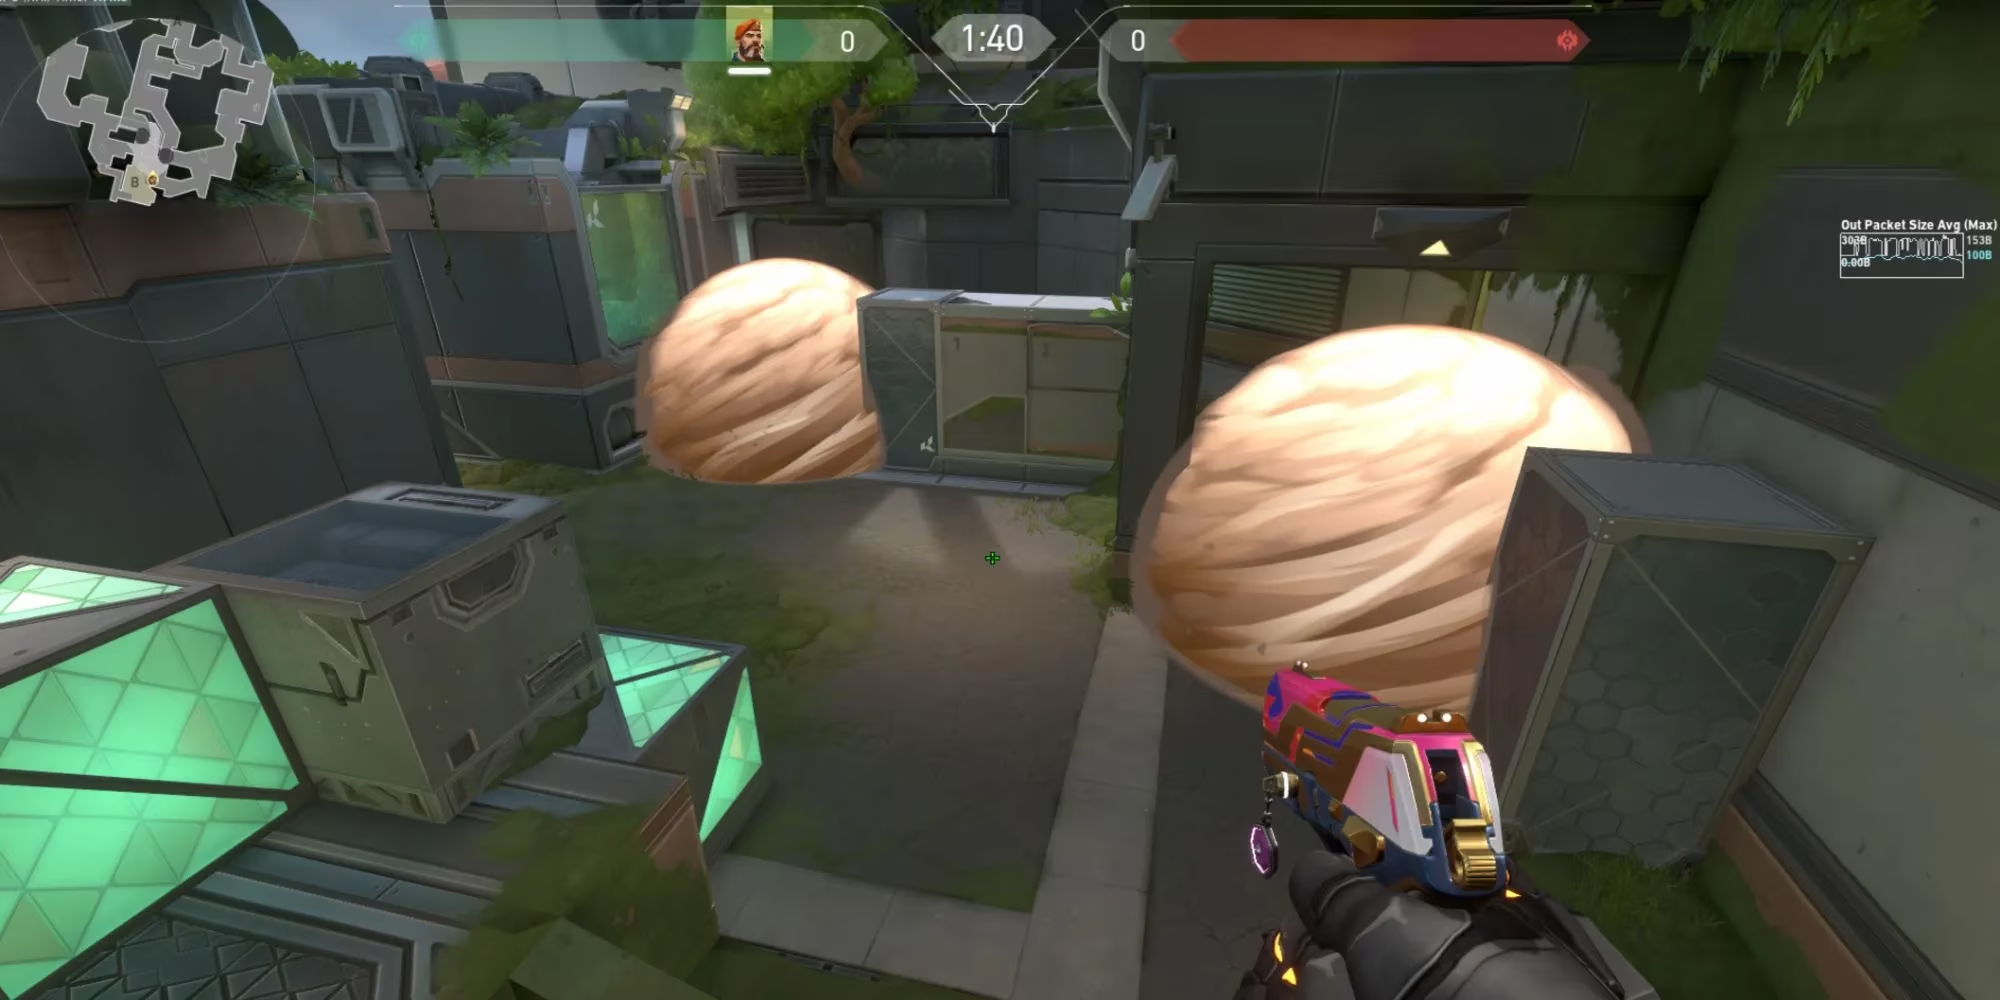
🛡️ Defending the B Site: The Standard Hold
On defense, your goal is to make the site as uninviting as a tax audit. The classic setup involves a teammate in Tower watching Arcade, and others holding B Main. Your smokes are your area-denial tools:
| Smoke Location | Purpose |
|---|---|
| B Main Stairs | Stops the frontal assault dead in its tracks. Pair with your Incendiary for maximum pain. |
| Arcade Connector | Funnels any Arcade push towards Tower, where your teammate has the close-range advantage. |
This setup creates two distinct, manageable choke points.
.jpg)
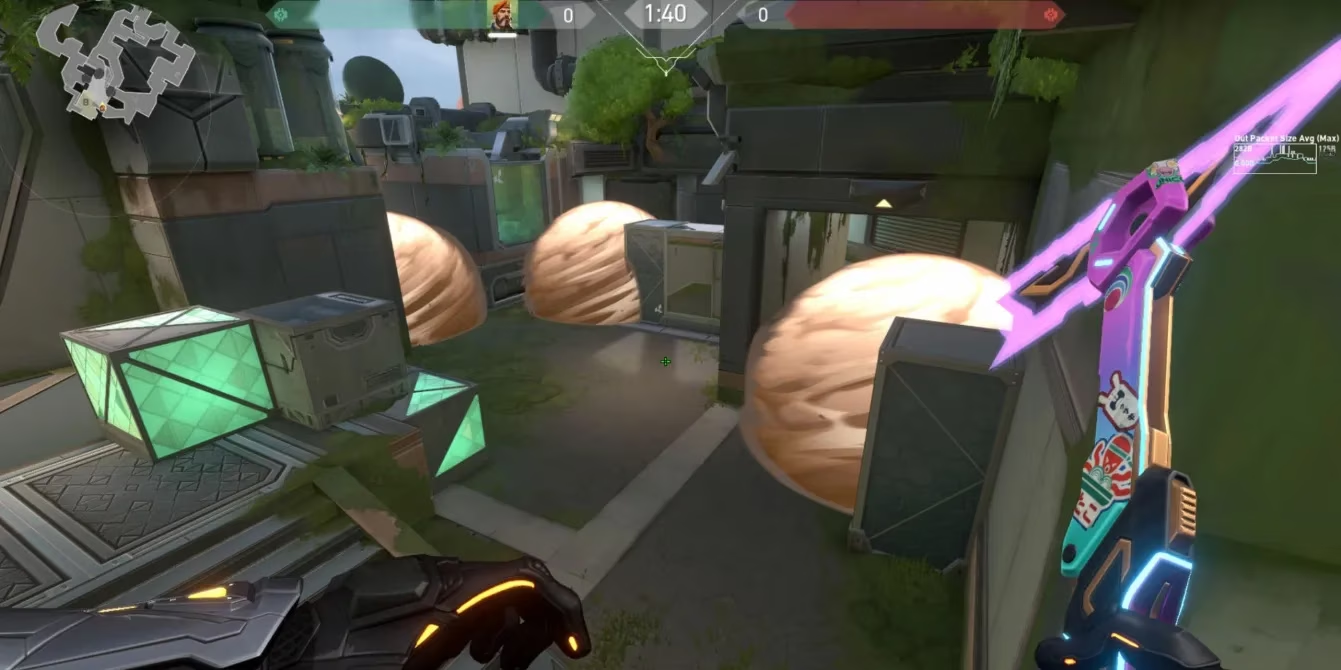
💎 Defending the B Site Orb
Ultimate Orbs on Fracture are more than just points; they're territorial trophies. Contesting the B Orb is a mini-game of map control. Drop your smoke near Tree, letting it nestle between the metal structures like a dense, gray cloud in a canyon. This smoke is chunkier than a homemade stew, making it impossible for attackers to sneak the orb. Work with a duelist to hold the space your smoke creates. Anyone challenging for that orb is walking into a pre-aimed nightmare.
🛡️ Defending the A Site: The Door Advantage
A Site defense is often simpler, thanks to the Door on Main acting as a natural, noisy barrier. Your primary smoke goes on the Main entryway. Follow it up with an Incendiary, and pushing A becomes a recipe for disaster. However, if attackers are successfully rushing through Door and swarming your Rope player, you need to adapt quickly. Drop a smoke on Sand, mirroring an attacker's move, to stall their advance and buy time for rotations. And never, ever forget about Dish. If that flank is open, a smoke on Drop can save your life.
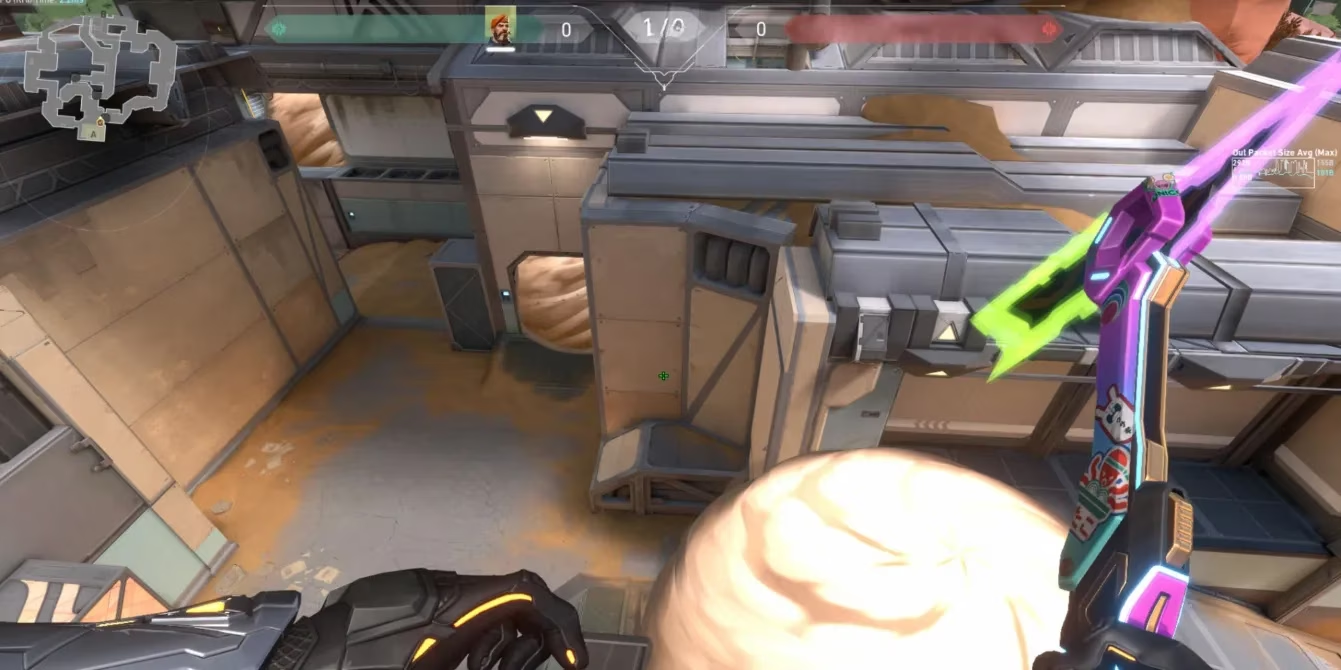
💎 Defending the A Site Orb
The A Orb is just as critical. At round start, launch a smoke deep into A Main to sever the attackers' line of sight. With a teammate, you can create a two-person watchtower around this smokescreen. To reclaim this space, attackers will have to spend a fortune in utility, giving your team an early economic and informational win. If they abandon the fight, grab that orb! It's a free step toward calling down your orbital strike, which on Fracture can feel as decisive as a judge's gavel.
.jpg)
The core of Fracture hasn't changed much since its release, but mastering it with Brimstone is about understanding its split personality. You're not just placing smokes; you're performing delicate surgery on the map's flow, stitching together control across its great divide. Remember, your smokes are temporary territories. Use them to guide the fight, create advantages in the orb war, and always, always watch both sides of the rift. Good luck, Commander.